Wordpress + GIT: Web Development
Intro
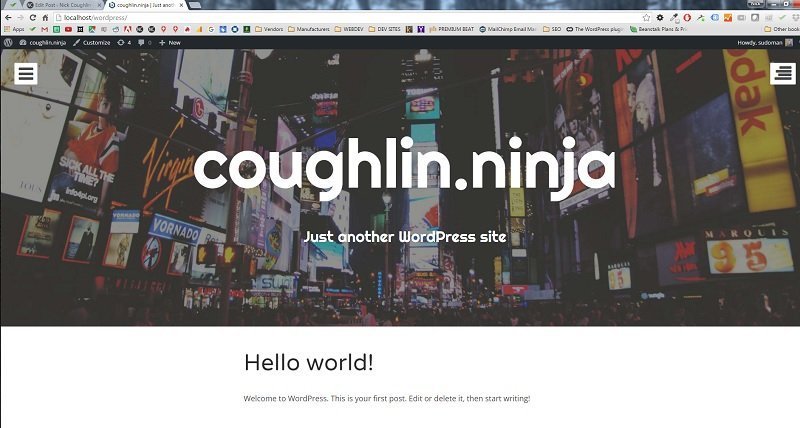
Making sense of web development with WordPress and GIT. Getting into the details of where the files live, how they are connected and updated. In this sample we will be setting up a site called coughlin.ninja, which will eventually live on the coughlin.ninja domain. The sole purpose of this domain is to play around with things like this, so lets put it to good use!
Install WordPress with Bitnami
First you will need to create a fresh install of WordPress and a virtual server on your machine to test your changes. You can do this many different ways but one of the easiest ways is to use the Bitnami WordPress Stack which will install a copy of word press as well as a virtual server. Create a blank folder in your websites project folder, and direct the Bitnami .exe to this location, and install the stack there. The stack will run completely independently of any other stacks or website projects you may be working on.

We now have an empty folder to which we can direct the Bitnami stack installer.
Here we can see the Bitnami stack installer has it’s own .exe and GUI, it could not be easier.
A very classy intro screen! They put a lot of work into this!
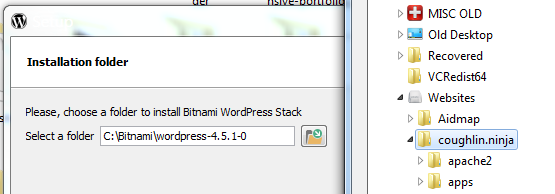
Change the default installation location to wherever you placed the blank folder for this project.
The stack manager will install all of the following files, including Apache2, a php database, mysql and more.
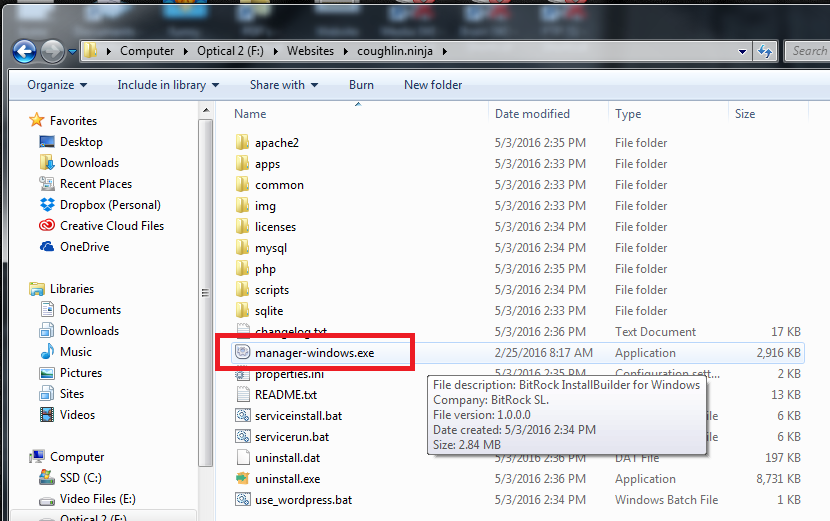
The virtual server can be started, stopped and more from the this .exe
We now have a fresh WordPress install and a virtual server set up on our local machine. Use the manager-windows.exe to launch the site, start and stop the server and more.
Note that once the stack has been installed in this location, you cannot move the folder or else the virtual server will no longer function.
Track with GIT (w/ GitKracken)
Next we will have to initiate a GIT repo. In this tutorial we will be using GitKracken as our GIT GUI, but if you are looking to learn the basics of GIT using the Command Line Interface (CLI) check out the Beginners Guide to GIT post.
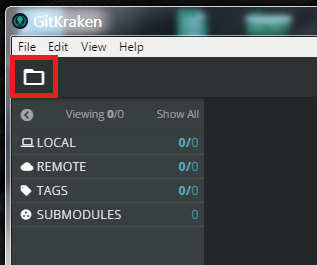
In GitKraken you can create a new repository by clicking on the file icon on the upper left.
And select the “Init” tab. You will then need to navigate to your project folder. Make sure you go down a couple levels inside of app>wordpress, otherwise you will create a GIT repo of all the Apache2, MySQL and other virtual server files, which you don’t want. You just want the WordPress files!
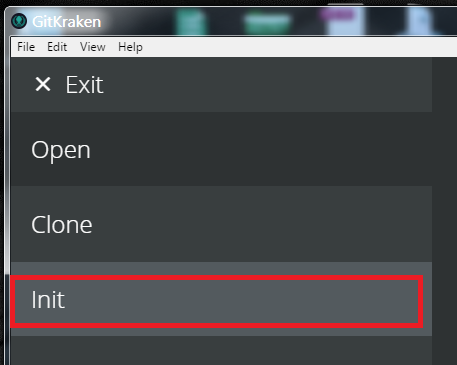
Navigate to the inside of the WordPress folder.

Once you make the repo you will see that all of the files have shown up inside of GitKraken. On the right-hand side of the GUI is the section where you can move the files through the three stages of GIT control. Modified>Staged>Commited.
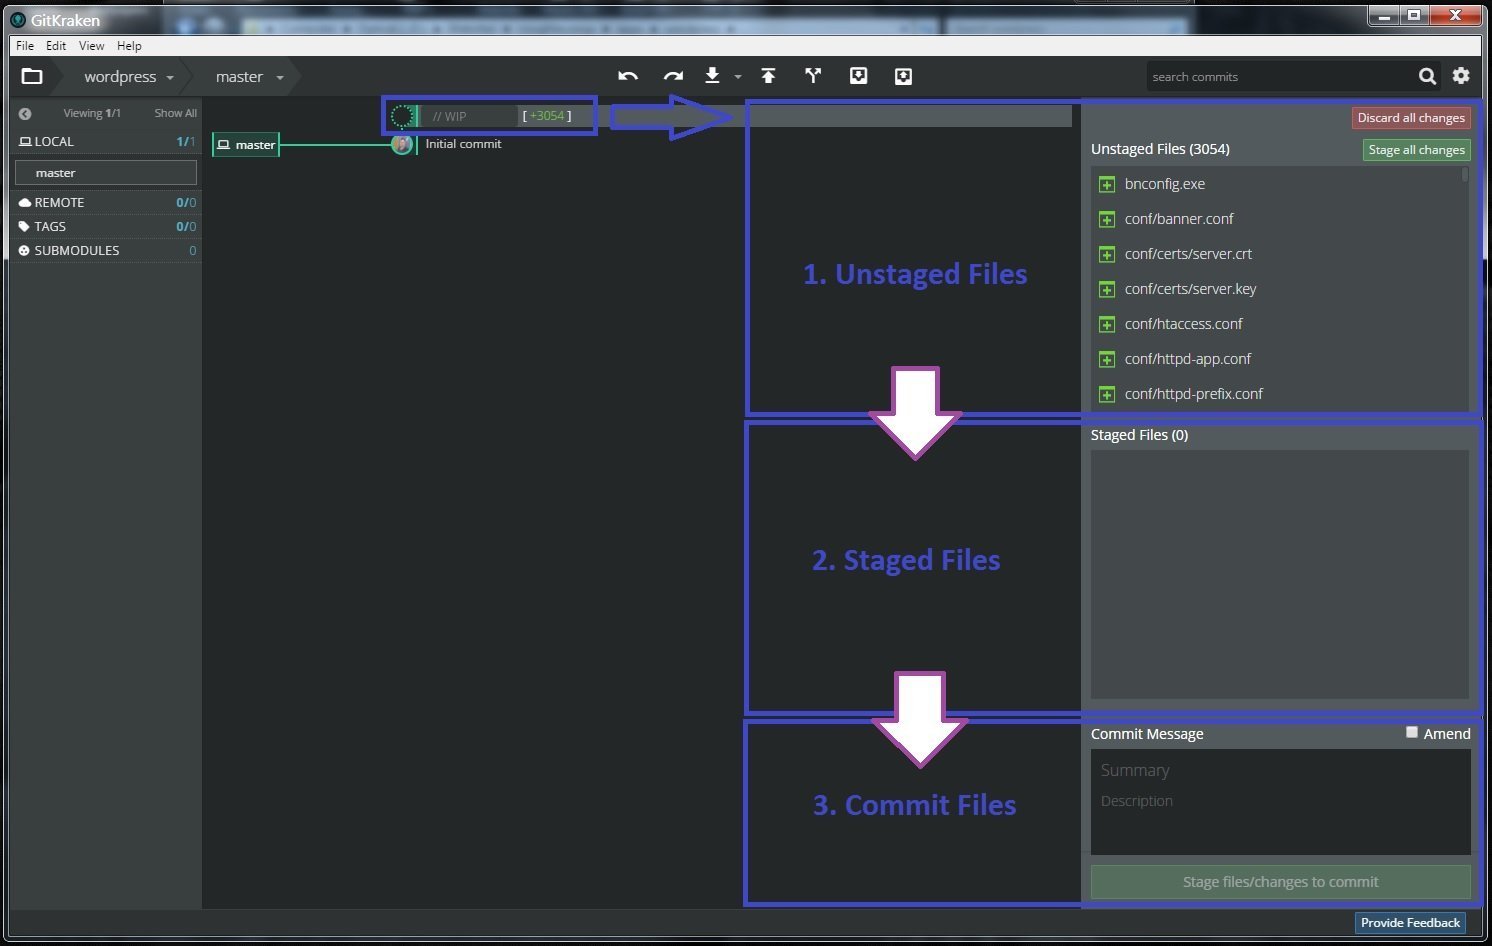
Start by committing these files and then we can move on to checking our site and making changes. Our site files are now being tracked! We can start by installing a new theme and seeing if it shows up correctly on our virtual server.
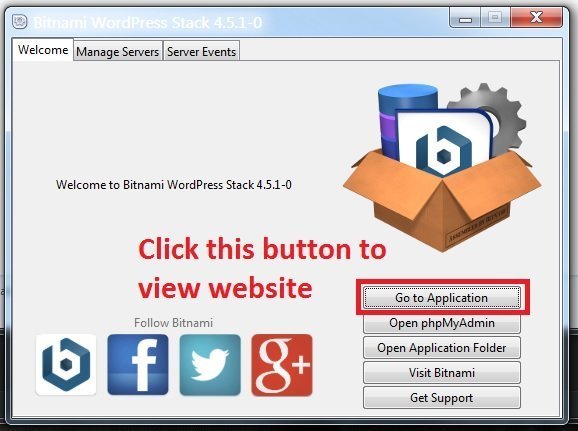
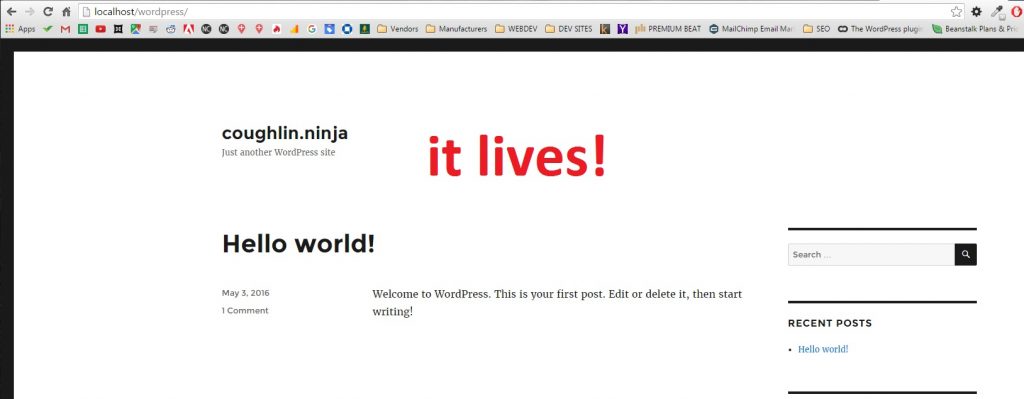
To view the site open up the Bitnami Stack GUI and click on “Go to Application” (remember the GUI is titled “manager-windows.exe and is sitting inside the top level folder where you installed the Bitnami Stack)
Test Making Updates
Now we want to test making a change to site files, tracking those changes in GIT, and seeing if they work on our local virtual server. Lets start by installing a new theme. At the same time let’s make a new branch and install the theme there. Then we can try toggling back and forth between the branch and the master to see if the theme appears and disappears in our “Appearance” section of WordPress 🙂
To create a new branch in GitKracken, you will right click on the master branch icon and select “Create Branch Here”
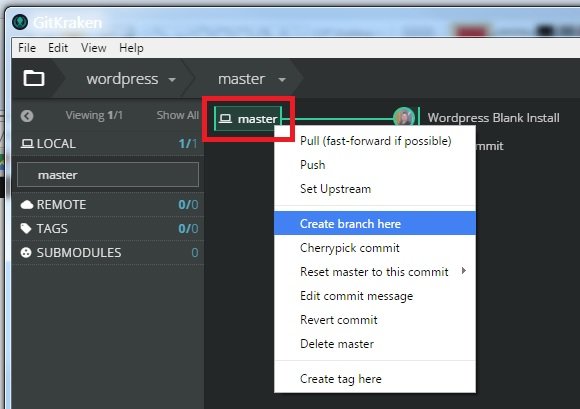
We will name this branch “1stbranch“. Upon creation the branch will be checked out. We can now install our theme manually into the themes folder.
We will be installing a theme titled “eighties“. Once it has been unzipped and placed into the themes folder we can test whether GIT is tracking these correctly by going back into GitKracken and toggling back and forth between the “master” branch and “1stbranch“. In the GIF below we can see that this is working perfectly. When we go back to the “Master” branch the new theme disappears, and re-appears when we switch back. Perfect!

Once the theme is activated and we are looking at it in our browser, what happens if we switch back and forth between the “master” and “1stbranch” then?

By going back to the Master branch and refreshing, the new theme will disappear. But why is that? Why wouldn’t it just switch back to the original theme? Because the information for which theme has been selected resides in the mySQL database, and GIT does not track changes inside of the database. Only the site files. So right now the sites database says that the site should be pulling the theme data from a directory called “eighties”, but that theme directory does not exist on the master branch. For a more complete list of what is kept in the database, and what is a site file, see the post WordPress Data Structure. Lets switch back to 1stbranch and see if it the theme shows up again.
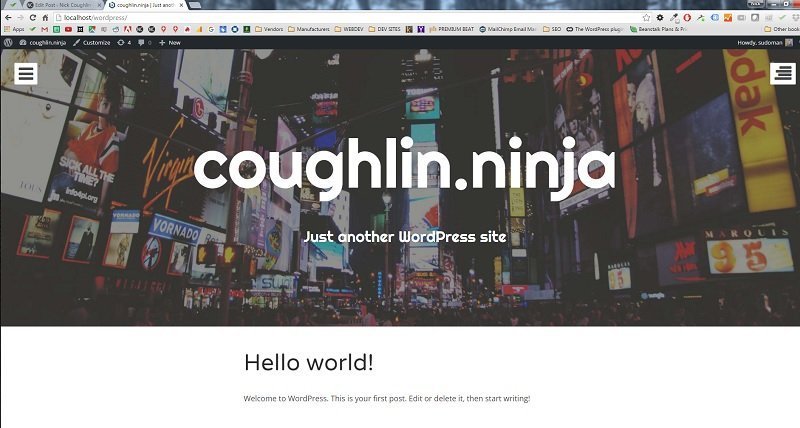
Oh yeah! She is lookin good.
Push Site to GitHub
The next step is to get a copy of this site to an online repo like Github or Bitbucket. For this example we will be using Github, and we will continue using GitKraken.
First you will need to link your GitKracken GUI to your GitHub account. This can be done in the settings section.
Go into your account on Github and create a new repository without a readme or .ignore file. Name the repo whatever you think is appropriate, probably the same name as the project on your local repo. Then go back to GitKracken and select “add a remote”
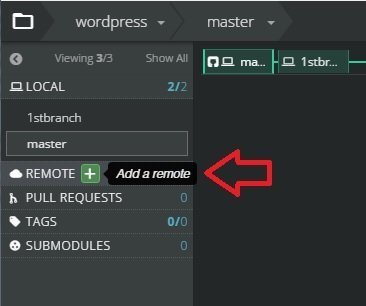
You will be prompted to give a name and push and pull url. You can name this remote whatever you want, but you probably want to name it according to the repo location, such as “Github”, so you know which remote location you are linking to.
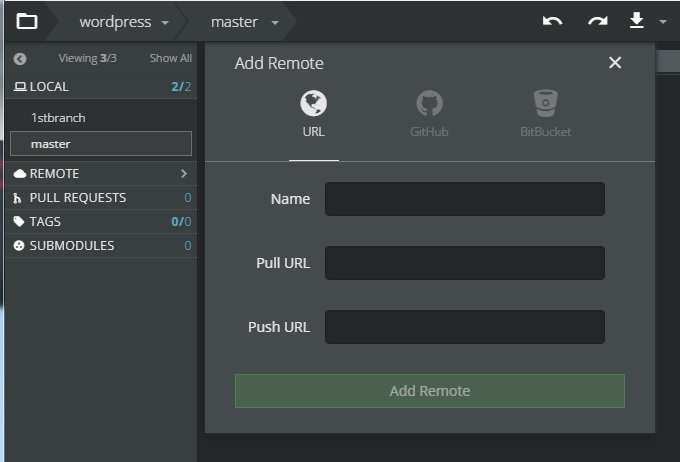
The push and pull URL are not necessarily different. On GitHub they are both the URL that is provided in the blank repo you just made on GitHub.

Now that we have synced our two account and specified a remote repo, we can make our first push to the repo. Check-out the branch you want to push to the repo and then either right-click on it or select the push button at the top of GitKracken. It will ask you what branch you want to sent it to. In this example we will be pushing to the master branch on the remote, so we would type
origin/master
Why would you type origin? You can read more about that here Stackoverflow: What is Origin?
SSH
Regardless of your sites host or the location of your GIT repository, you will need to connect these locations using SSH. SSH (Secure Shell) is a cryptographic network protocol that lets you securely send files from one location to another. In order to form these connections you will be required to generate an SSH key, which will have a password. A copy of this key will be sitting on the server you are working to connect to. Then you will have a peice of software on your machine called SSH Client. The most common SSH Client is Open SSH. You will give this client the IP and username of the server that you are trying to connect to (such as your websites server) as well as the SSH key and password. This will create an encrypted link between your machine and the server, which you can then use for various things such as GIT pushes and pulls.
Comments
Recent Work
Basalt
basalt.softwareFree desktop AI Chat client, designed for developers and businesses. Unlocks advanced model settings only available in the API. Includes quality of life features like custom syntax highlighting.
BidBear
bidbear.ioBidbear is a report automation tool. It downloads Amazon Seller and Advertising reports, daily, to a private database. It then merges and formats the data into beautiful, on demand, exportable performance reports.