Photoshop: Displacement Maps Tutorial

Displacement maps are how you make text and logos look like they are printed on a textured surface in a mockup. They can add texture to imported vectors and a variety of other things. If you want to distort text or other vectors to “lay on top of” a non smooth surface, this tutorial is for you.
First start with whatever the background texture is going to be that you are applying the text or graphic to. In this case we will be using a crumpled piece of paper.
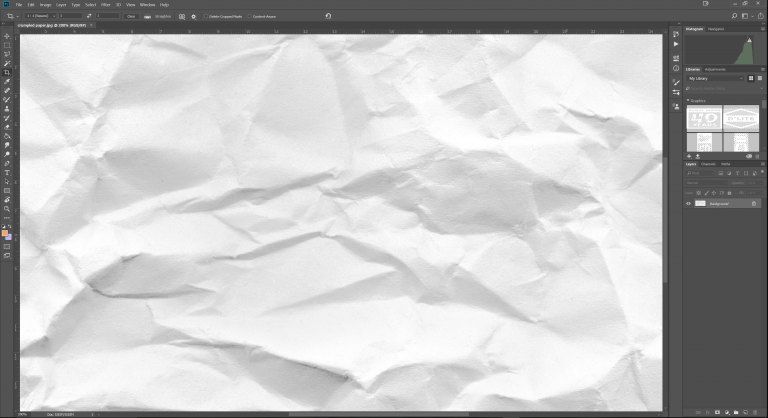
Then you add a black and white adjustment layer. This crumpled paper is already without color so you won’t notice much of a difference but it is important for other materials.
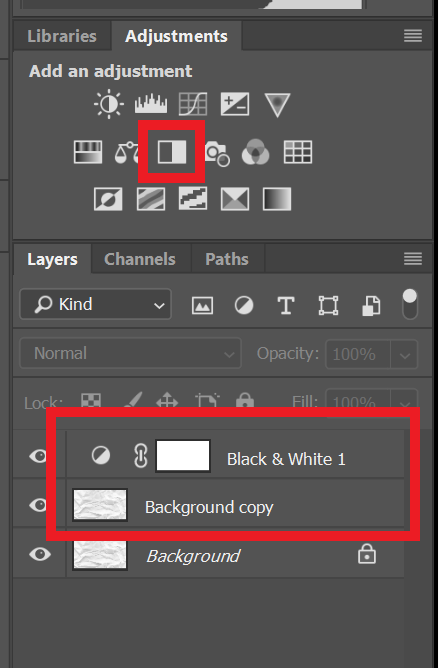
Then save as and name it displacement map
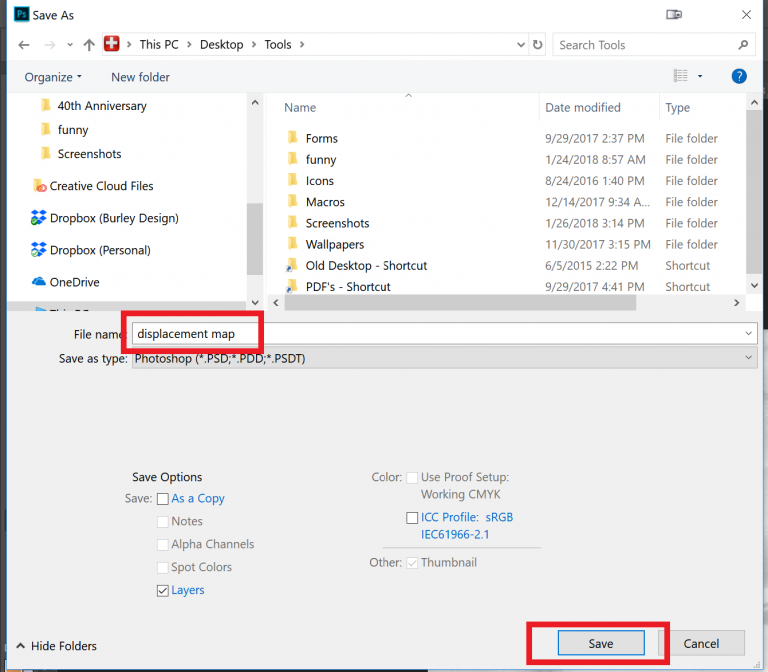
Then re-open the original texture file (crumpled paper) and import the text or object that you want to wrap around the displacement map.
NOTE Displacement maps will only work on Vector Files or Smart Objects! If you have not done so already right click on the layer that has your graphic and convert it to a smart object.
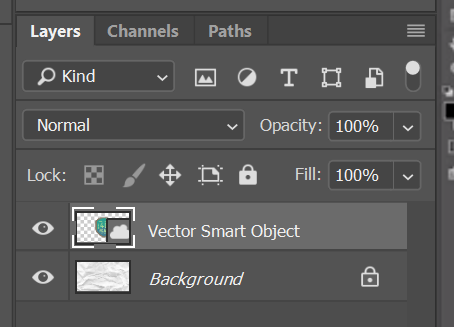
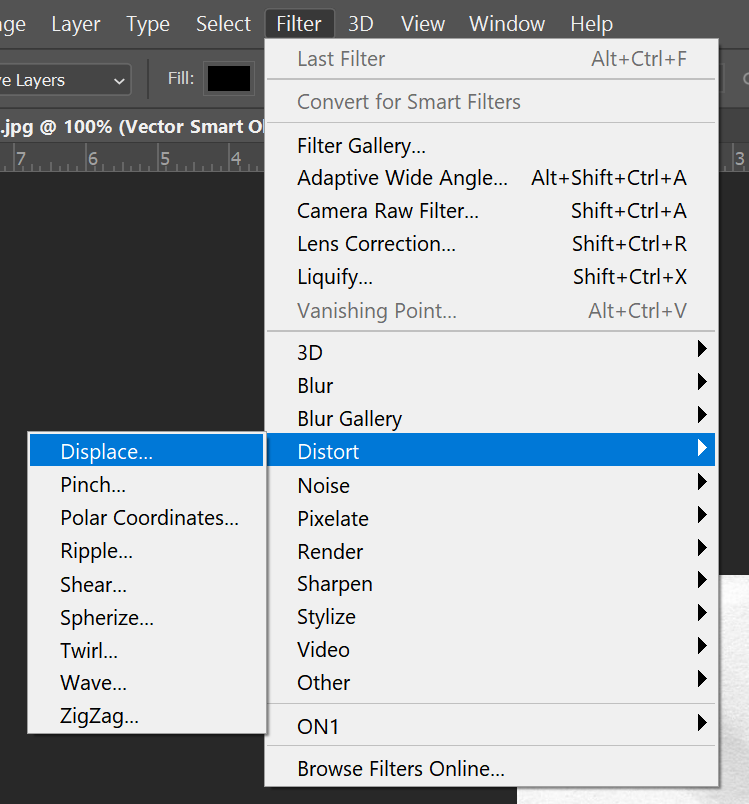
With your vector/smart object selected go to Filter>Distort>Displace
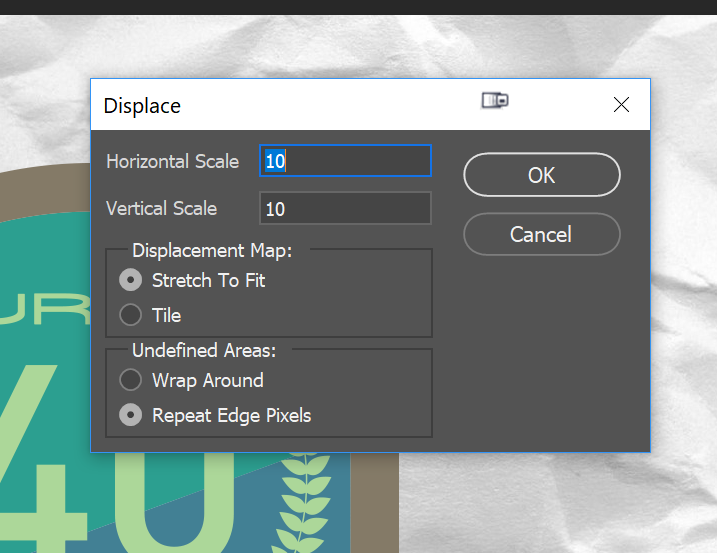
You will be given some options. Play with them if you want or press Ok.
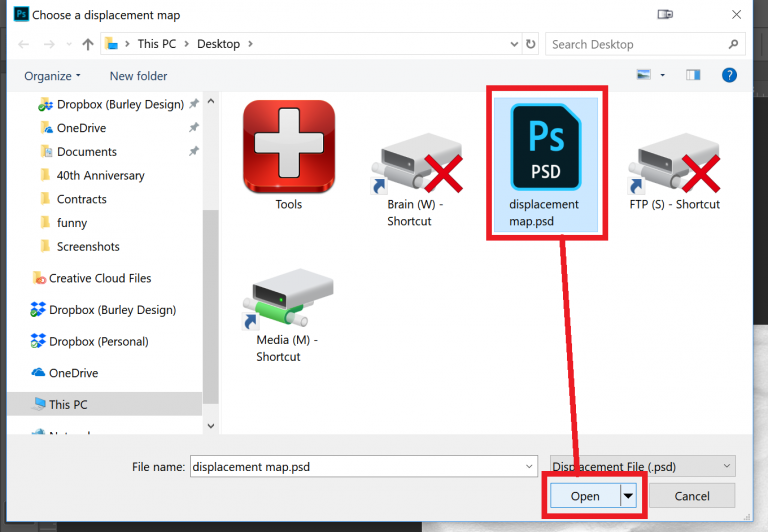
You will then be prompted to select your displacement map. Select the black and white copy of the texture that you saved earlier.
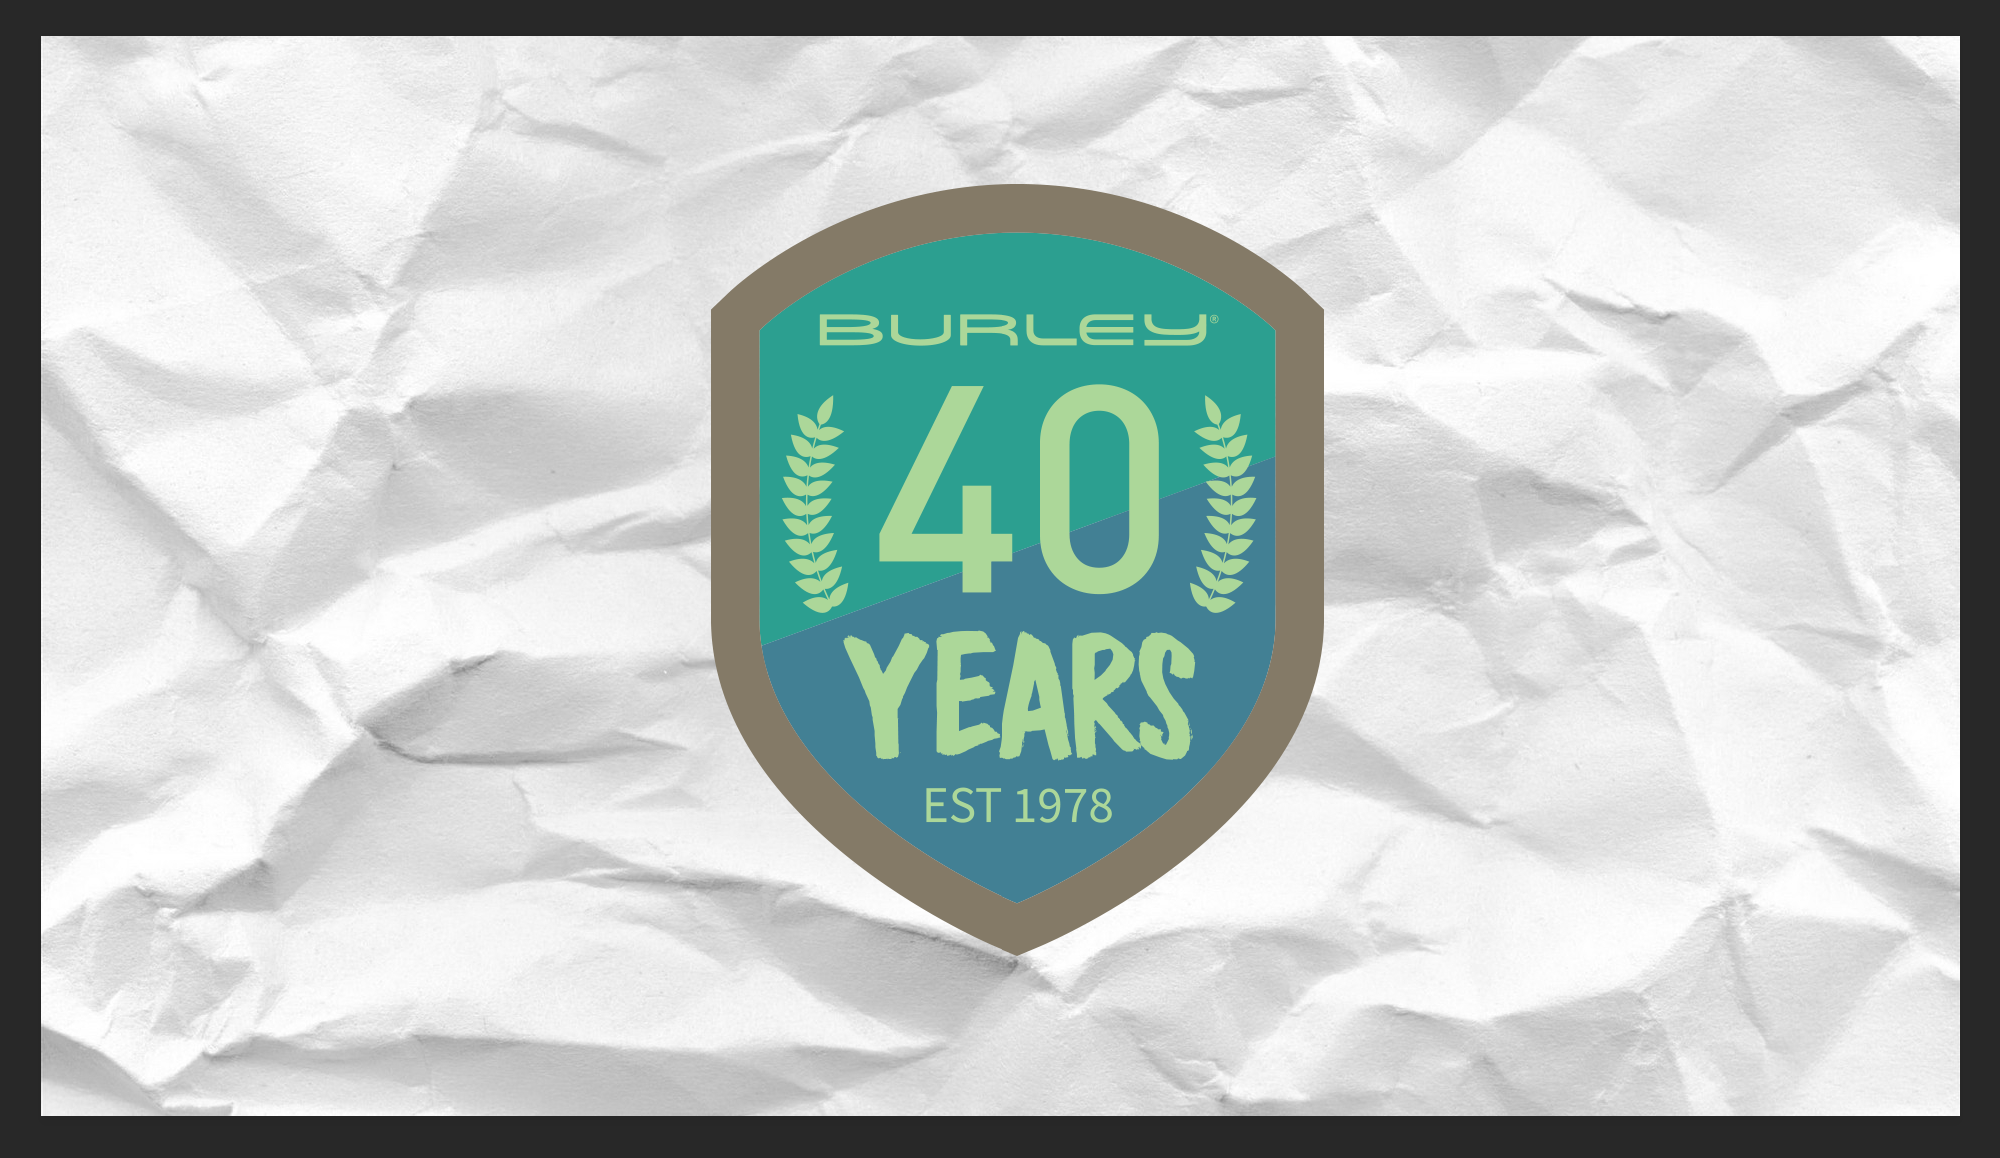
Et Voila… the graphic is now distorted

If you find that the final result has a lot of sharp edges add a Gaussian Blur to the displacement map. This will help to smooth out some of the final details in the map and make the folding effect smoother.
At this point you will probably be saying, well that looks kind of like what I was going for but it’s not quite right. What is happening is that the shadows on the paper aren’t affecting the graphic which makes it look fake. What you want to do now is take a copy of the paper background, put it on top of the displaced vector layer. Right click it and Create Clipping Mask. If you Turn the sight of the background layer off now you should have something that looks like this.
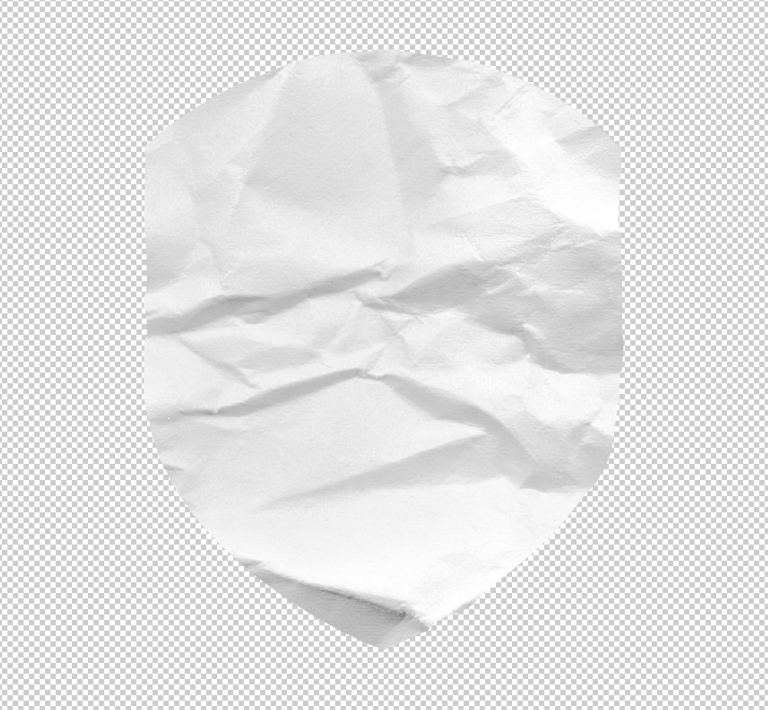
Then you select this new layer and convert it to a Multiply adjustment layer.
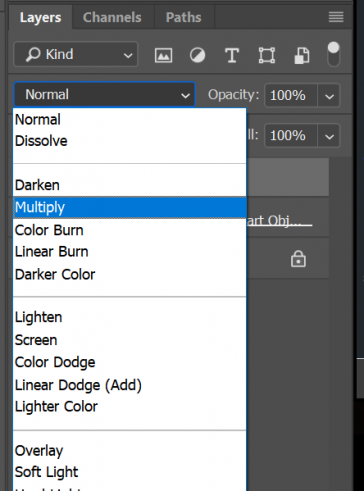
Wow… That is much better. Now it actually looks like the graphic is on the paper instead of floating above it.

Comments
Recent Work
Basalt
basalt.softwareFree desktop AI Chat client, designed for developers and businesses. Unlocks advanced model settings only available in the API. Includes quality of life features like custom syntax highlighting.
BidBear
bidbear.ioBidbear is a report automation tool. It downloads Amazon Seller and Advertising reports, daily, to a private database. It then merges and formats the data into beautiful, on demand, exportable performance reports.