Frosty CMS: Authentication With Passport JS ✈️
Intro
Continuing our series on Frosty CMS, where we are building a blog CMS from scratch. In our last post we wrote a module to seed the database with blogs and comments to make it easier for testing. Then I implemented a collapsible comment section on the single post page where users can post comments (no tutorial on that but you can check it out in the repo).
But currently everyone on the site has access to anything. Any random user could post or delete blog posts or create comments without any sort of registration or permissions. Now we will start to change that by implementing authentication with Passport. This will allow us to create sessions, users and user states so that we can restrict unwanted activity on our site.
Setup
Login and Registration Forms
We can start by taking care of our front end stuff. Let’s whip up some login and registration forms.
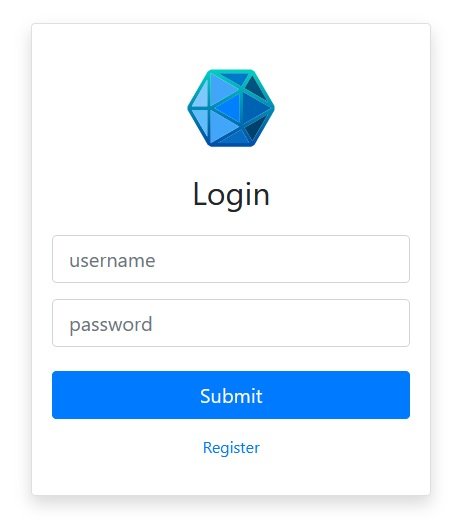
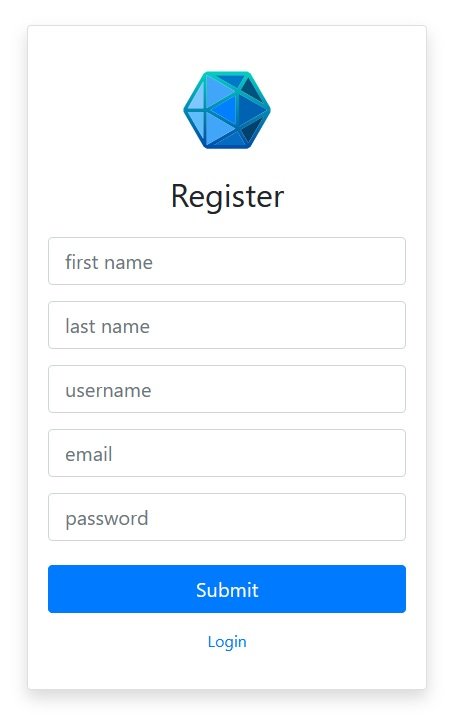
Form Name Requirements
Take note. When writing the HTML for your registration and login forms, the name property MUST be username and password. If you use any variation of this you will get a Bad Request error and you will make no progress (ask me how I figured that out).
<form class="mt-4" action="/register" method="POST">
    <div class="form-group">
        <input type="text" class="form-control form-control-lg" placeholder="first name" name="firstname">
    </div>
    <div class="form-group">
        <input type="text" class="form-control form-control-lg" placeholder="last name" name="lastname">
    </div>
    <div class="form-group">
        <input type="text" class="form-control form-control-lg" placeholder="username" name="username">
    </div>
    <div class="form-group">
        <input type="email" class="form-control form-control-lg" id="exampleInputEmail1" aria-describedby="emailHelp"
            placeholder="email" name="email">
    </div>
    <div class="form-group">
        <input type="password" class="form-control form-control-lg" id="exampleInputPassword1" placeholder="password"
            name="password">
    </div>
    <button type="submit" class="btn btn-primary btn-lg btn-block mt-4 mb-3">Submit</button>
</form>
Installation
Passport refers to authentication methods as “strategies”. For example logging in with Google would be one strategy, or logging in with Facebook. However we are going to start with the “Local” strategy, which means we will be managing users and authentication on our own server. We can start by installing the following packages.
- passport
- passport-local
- passport-mongoose
- passport-local-mongoose
- express-session
And then we need to require the packages in the application.
const express          = require('express'),
      app              = express(),
      bodyParser       = require('body-parser'),
      mongoose         = require('mongoose'),
      methodOverride   = require('method-override'),
      expressSanitizer = require('express-sanitizer'),
      passport         = require('passport'),
      LocalStrategy    = require('passport-local'),
      Blog             = require('./models/blogs'),
      Comment          = require('./models/comments'),
      User             = require('./models/users'),
      // disable to prevent seeding of database
      seedDB           = require('./seeds');
And create a new schema model called users.
const mongoose = require('mongoose');
const passportLocalMongoose = require('passport-local-mongoose');

// Mongoose Schema for comments
const userSchema = new mongoose.Schema({
    username: String,
    password: String
});

userSchema.plugin(passportLocalMongoose);

// creating schema Model named Blog to be called later
// IE Blog.find() or Blog.create()
// Compiling the model is what allows us to run these Mongoose methods
module.exports = mongoose.model("User", userSchema);
Note that we only referenced the passport-mongoose package in the users model module, and we also referenced it as a plugin (first plugin of the application).
Configuration
Not very exciting, but here is our configuration code
// ***************************
// PASSPORT CONFIGURATION
// ***************************

app.use(require("express-session")({
    secret: "Never play anything the same way twice.",
    resave: false,
    saveUninitialized: false
}))
app.use(passport.initialize());
app.use(passport.session());
// the following User.methods are provided by
// plugin(passportLocalMongoose) in the users.js model module
passport.use(new LocalStrategy(User.authenticate()));
passport.serializeUser(User.serializeUser());
passport.deserializeUser(User.deserializeUser());
Routes
Registration
The GET routes for the login and registration forms are straightforward so I’ll skip those. The fun part is the POST routes.
// new user: save user to database and authenticate them
app.post("/register",(req, res) => {
    var newUser = new User({firstname: req.body.firstname,
                            lastname: req.body.lastname,
                            email: req.body.email,
                            username: req.body.username
                            });
    User.register(newUser, req.body.password, function(err, user) {
        console.log("attempting user registration");
        if(err){
            console.log(err);
            return res.render("register.ejs");
        }
        passport.authenticate("local")(req, res, function() {
            console.log("user registration successful");
            res.redirect("/");
        });
    });
});
Login
The login route is significantly simpler, but this is the first time that we will be using “middleware”, in this case passport.authenticate. There is nothing to put in the callback here since the redirection is handled by the passport middleware.
// login user: authenticate user
// app.post("/login", middleware, callback)
app.post(
  "/login",
  passport.authenticate("local", {
    successRedirect: "/settings/dashboard",
    failureRedirect: "/login"
  }),
  (req, res) => {}
);
Logout
Logging the user out is very simple. We just follow the instructions in the documentation: Passport: Logout
// logout user
app.get("/logout",(req, res) => {
    req.logout();
    res.redirect("/");
});
Permissions
Now we get into the process of making things only visible/available to users who are logged in. I’ll call this permissions. To start we need to create a middleware function that will check the status of the current user.
.isAuthenticated()
We will create a middleware function that we can insert into our routes to check if a user is currently logged in, using the Passport method .isAuthenticated().
// check if user is logged in
function isLoggedIn(req, res, next){
    if(req.isAuthenticated()){
        return next();
    }
    res.redirect("/login");
}
and then we place that middleware into any route where the user should be logged in to be able to proceed. For example the settings dashboard.
// settings/dashboard
app.get("/settings/dashboard", isLoggedIn, (req, res) => {
    res.render("settings-dashboard.ejs");
});
Show/Hide Content
Now we get to the part where we show or hide content based on whether the user is logged in. There are three main parts to this:
- Retrieve user data
- Pass user data to template
- Modify template based on user data
Retrieve User Data
The key part of our ability to do this is that Passport provides us with a new property that we receive in our HTTP requests, .user.
To show this let’s simply log the property of a logged in user who visits the home page by adding this to the index route.
console.log(req.user);
and we put that in the index route
// landing page
app.get("/",(req, res) => {
    // show user data
    console.log(req.user);
    // get blogs from database
    Blog.find({},(err, blogs) => {
        if(err){
            console.log("Error: Unable to retreive blog data.");
        } else {
            res.render("index.ejs", {blogs:blogs});
        }
    });
});
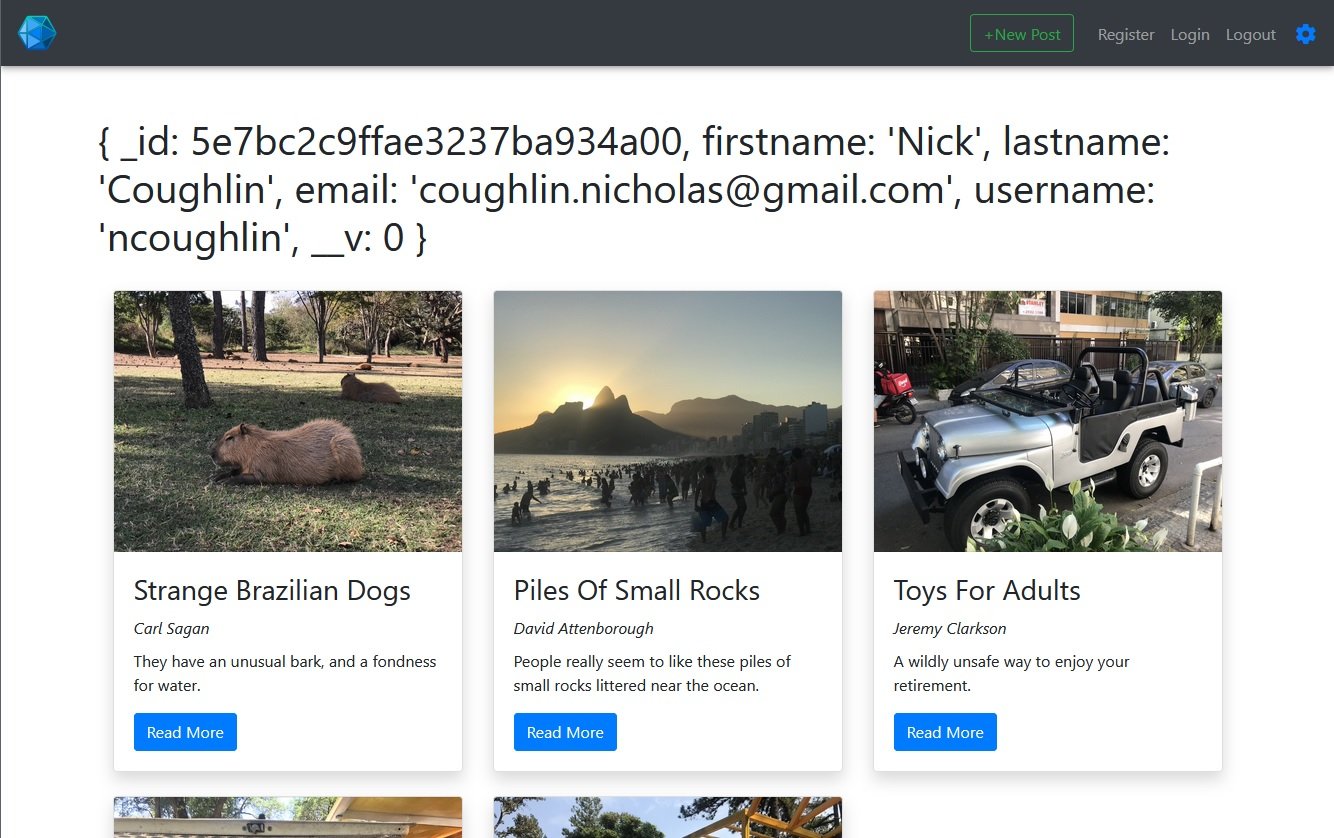
and if we log in and visit the homepage we get our user data in the console
Pass User Data To Template
Now that we know how to retrieve the user data, we need to pass that user data to the template. The above index route is a perfect example of how to do that, because it is currently passing through the blog data with {blogs:blogs}. So we just need to add our users data to this: {blogs:blogs, currentUser: req.user}.
// landing page
app.get("/",(req, res) => {
    // get blogs from database
    Blog.find({},(err, blogs) => {
        if(err){
            console.log("Error: Unable to retreive blog data.");
        } else {
            res.render("index.ejs", {blogs:blogs, currentUser: req.user});
        }
    });
});
and then let’s just do a quick display of that data by inserting it into the index template with:
<h1><%= currentUser %></h1>
Modify Template Based On User Data
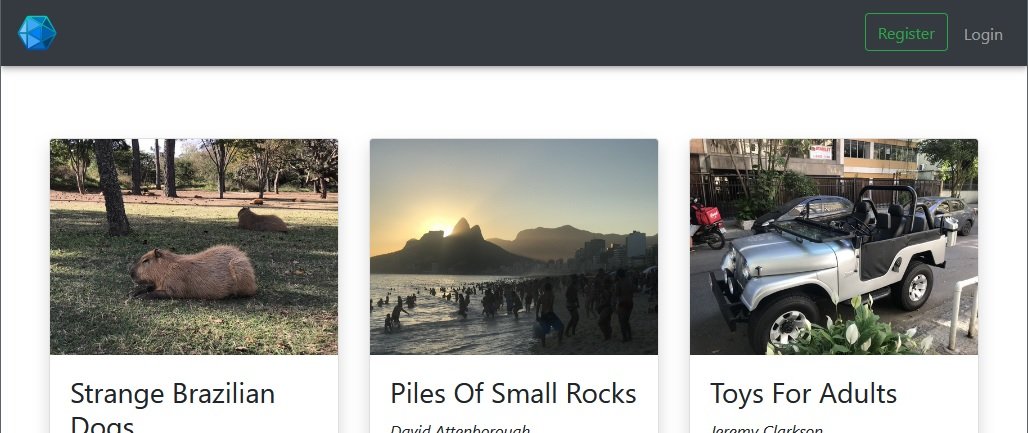
The first content that we will show or hide based on the status of the user is the links in the navbar: Register, Login, Logout. When the user is not logged in they should see Register and Login. When the user IS logged in, they should see Logout. To accomplish this we will be using a basic if/else statement inside of our template.
<% if(!currentUser){ %>
<li class="nav-item">
    <a class="nav-link" href="/register">
        Register
        <span class="sr-only">Register</span></a>
</li>
<li class="nav-item">
    <a class="nav-link" href="/login">
        Login
        <span class="sr-only">Login</span></a>
<% } else { %>
</li>
<li class="nav-item">
    <a class="nav-link" href="/logout">
        Logout
        <span class="sr-only">Logout</span></a>
</li>
<% } %>
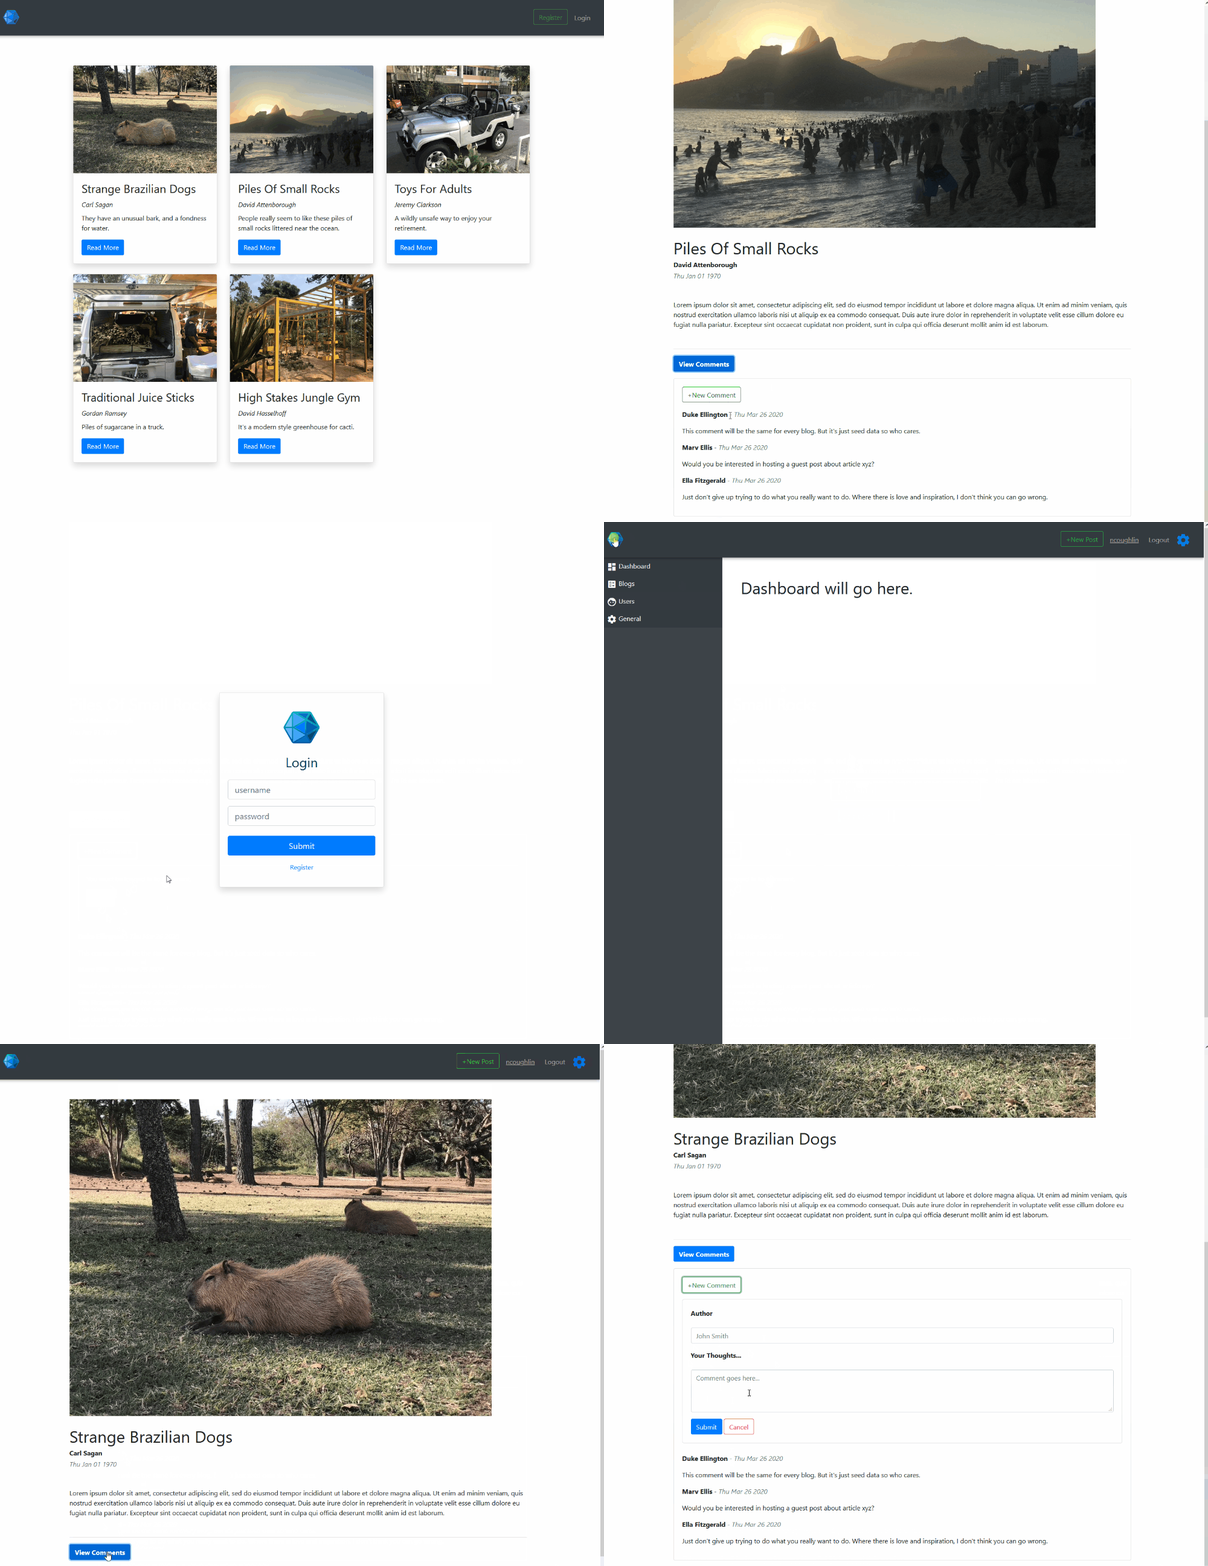
And now with a bit of modified styling When we are logged in we get the following on the index page.
That’s all great, but now when we actually attempt to login we get an error currentUser is not defined. Why is this happening? The problem is that we have only passed currentUser through on this one route. We want to be passing our user data through on every route.
Pass User Data On Every Route
To fix this we need to create a middleware that instructs express to pass this data through with every response. We can create this with an Express method called res.locals.
// pass through user data on every route
app.use((req,res,next) => {
    res.locals.currentUser = req.user;
    next();
});
Once that is in place we can remove the user data from the index route, and we can now move freely throughout the site with our user data being passed through on every response.
Add Username To Navbar
At this point it should be obvious how to do this, but we’ll just count this as one last example. We should now be able to easily add the users username to the navbar as a link, which we can use later to link to their user profile in settings.
<li class="nav-item">
    <a class="nav-link mr-2" href="/">
        <u><%= currentUser.username %></u>
        <span class="sr-only"><%= currentUser.username %></span></a>
</li>
Ideally later we will replace this with a profile pic, and then we can create a dropdown menu from that with profile options and move the logout button there.
Prevent Comments For Logged Out Users
Using this exact same method we can prevent users who are logged out from making new comments.
GitHub Repo
Comments
Recent Work
Basalt
basalt.softwareFree desktop AI Chat client, designed for developers and businesses. Unlocks advanced model settings only available in the API. Includes quality of life features like custom syntax highlighting.
BidBear
bidbear.ioBidbear is a report automation tool. It downloads Amazon Seller and Advertising reports, daily, to a private database. It then merges and formats the data into beautiful, on demand, exportable performance reports.