Frosty CMS: Creating Single Blog Post Page
Intro
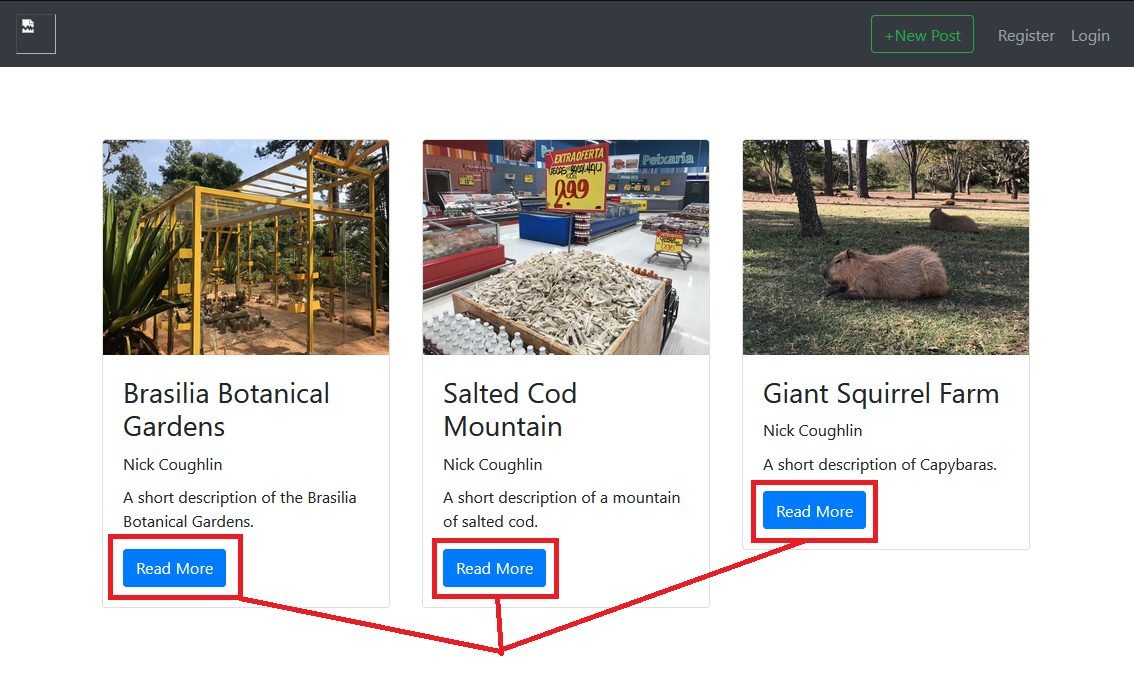
Continuing our series on Frosty CMS, where we are building a blog CMS from scratch. We currently have a homepage template where we can see all of the blog posts that have been published, however we need to have a template for reading individual posts, and then dynamically link that to the “read more” button on our homepage. Let’s get started.
Creating The Route
To start let us create the new route in the application. We recently covered RESTful Routes.
The route we will be making here is a Show route, since we are going to display information that we have stored.
// render individual post. This is a wildcard link and must therefore be
// placed after static links in the application!

app.get("/posts/:id", function(req, res){
    res.send("Future home of single post template");
});
Because we don’t actually know what the URL is going to be beforehand (it depends on the post ID) this route is a wildcard route. Remember that wildcard routes must be placed AFTER static routes in our application. The application runs through the routes sequentially and as soon as the parameters are met it will route the user and stop the program (just like the return function). Therefore wildcard routes must be placed after any static routes that they would bypass. Like this:
// new post page
app.get("/posts/new", function(req, res){
    res.render("newPost.ejs");
});

// render individual post. This is a wildcard link and must therefore be
// placed after static links in the application!
app.get("/posts/:id", function(req, res){
    res.send("Future home of single post template");
});
Then we change this to link to a new EJS template for single post pages:
// render individual post. This is a wildcard link and must therefore be
// placed after static links in the application!
app.get("/posts/:id", function(req, res){
    // find post with provided ID
    // render single post template with that post data
    res.send("singlePost.ejs");
});
We also must // find post with provided ID and we will do this with a Mongoose method .findByID(). You can read more about this method here: Mongoose Queries
app.get("/posts/:id", function(req, res){
    // find post with provided ID
    Post.findById(req.params.id, function(err, dbData){
        if(err){
            console.log("error finding post data by ID");
        } else {
            // render single post template with that post data
            res.render("singlePost.ejs", {post: dbData});
        }
    });
});
This route is easily the most complicated part of this process. So lets take an extra moment to break this down into comprehensive chunks.
app.get
app.get("/posts/:id", function(req, res)
This is a get request. The user has requested a page with URL /posts/:id. We do not know what the id is ahead of time. We have two arguments in this function. request (the data we receive with the request) and response (the action that we are telling the application to give in response to this request).
:id
This is a variable that is being passed to us by the user.
<!-- The Loop Starts Here -->
    <% for(var i=0; i<posts.length; i++){ %>

    <div class="col-sm-12 col-md-6 col-lg-4">
        <div class="card mt-4" style="width: 18rem;">
        <img
            src="<%= posts[i].image %>"
            class="card-img-top"
            alt="..."
        />
        <div class="card-body">
            <h3 class="card-title"><%= posts[i].title %></h3>
            <h6 class="card-title"><%= posts[i].author %></h5>
            <p class="card-text"><%= posts[i].short %></p>
            <a href="/posts/<%=posts[i]._id%>" class="btn btn-primary">Read More</a>
        </div>
        </div>
    </div>

    <% } %>
<!-- The Loop Ends Here -->
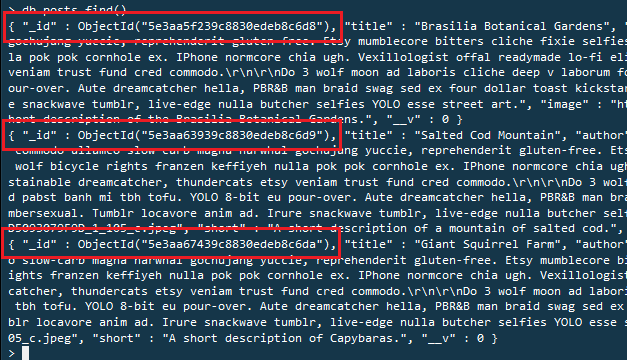
The id in the link is being generated by the loop on the index page. It is simply a string of numbers that is being passed to us, and we have given it the temporary name id. We are going to use this string to query the database for post information that matches that string.
Post.findByID()
Remember that Post. is our database schema. Anytime we are running methods on Post. we are using Mongoose methods. This function has us feed it the id to lookup in the first argument, and the second argument is the returned database data.
req.params.id
This is the id that we are feeding the .findByID() method. It is the id string that the user sent us when they made the GET request. It was filtered out of the request using body-parser. We got this from :id.
dbData
This is the data returned to us by the .findByID() method. We can name it whatever we want. It is always the second argument in this function. You just need to name it so you can reference it later in the function when you are crafting the response.
res.render(“singlePost.ejs”, {post: dbData})
This is our response. We are rendering the template singlePost, we are sending it the data called dbData, and we are sending it under the name post. So post is the object that we need to reference on our template to access the data inside of this object. EG:
- post.title
- post.author
- post.content
Linking To Single Post Page by _id
Now we need to update our posts index.ejs page that links to the new singlePost.ejs Template. This “Read More” link needs to change dynamically for each post.

Remember that each object in our database has a unique ID that is generated when the object is saved to the database.

Our index.ejs form is already pulling in information for title, author & short in it’s loop. Now we just need to update the link so that it is using _id.
<div class="card-body">
      <h3 class="card-title"><%= posts[i].title %></h3>
      <h6 class="card-title"><%= posts[i].author %></h5>
      <p class="card-text"><%= posts[i].short %></p>
      <a href="/posts/<%=posts[i]._id%>" class="btn btn-primary">Read More</a>
</div>
And if we use the inspector we can see that our links are now generated dynamically with the object ID.
Creating The Single Post Template
and then create a new EJS template in our views folder /views/singlePost.ejs
<%- include("partials/header.ejs") %>
<%- include("partials/navbar.ejs") %>


<h1>Single Post Page</h1>


<%- include("partials/footer.ejs") %>
And now we go through the process of creating that template in Bootstrap. We’ll make it pretty simple to start.
<%- include("partials/header.ejs") %>
<%- include("partials/navbar.ejs") %>


<!-- begin content -->
<!-- fixed width container for content -->
    <div class="container-lg mt-5">

        <!--Header Image -->
        <img src="<%= post.image %>" class="img-fluid" >
        <!--Title & Author -->
        <h1><%= post.title %></h1>
        <h6><%= post.author %></h6>

        <!--Content -->
        <p class="font-weight-normal mt-5"><%= post.content %></p>


    </div>


<%- include("partials/footer.ejs") %>
If you need a refresher on what Express URL variables (Ex :id) please go back and checkout this post: Ncoughlin: Express.js Route Parameters
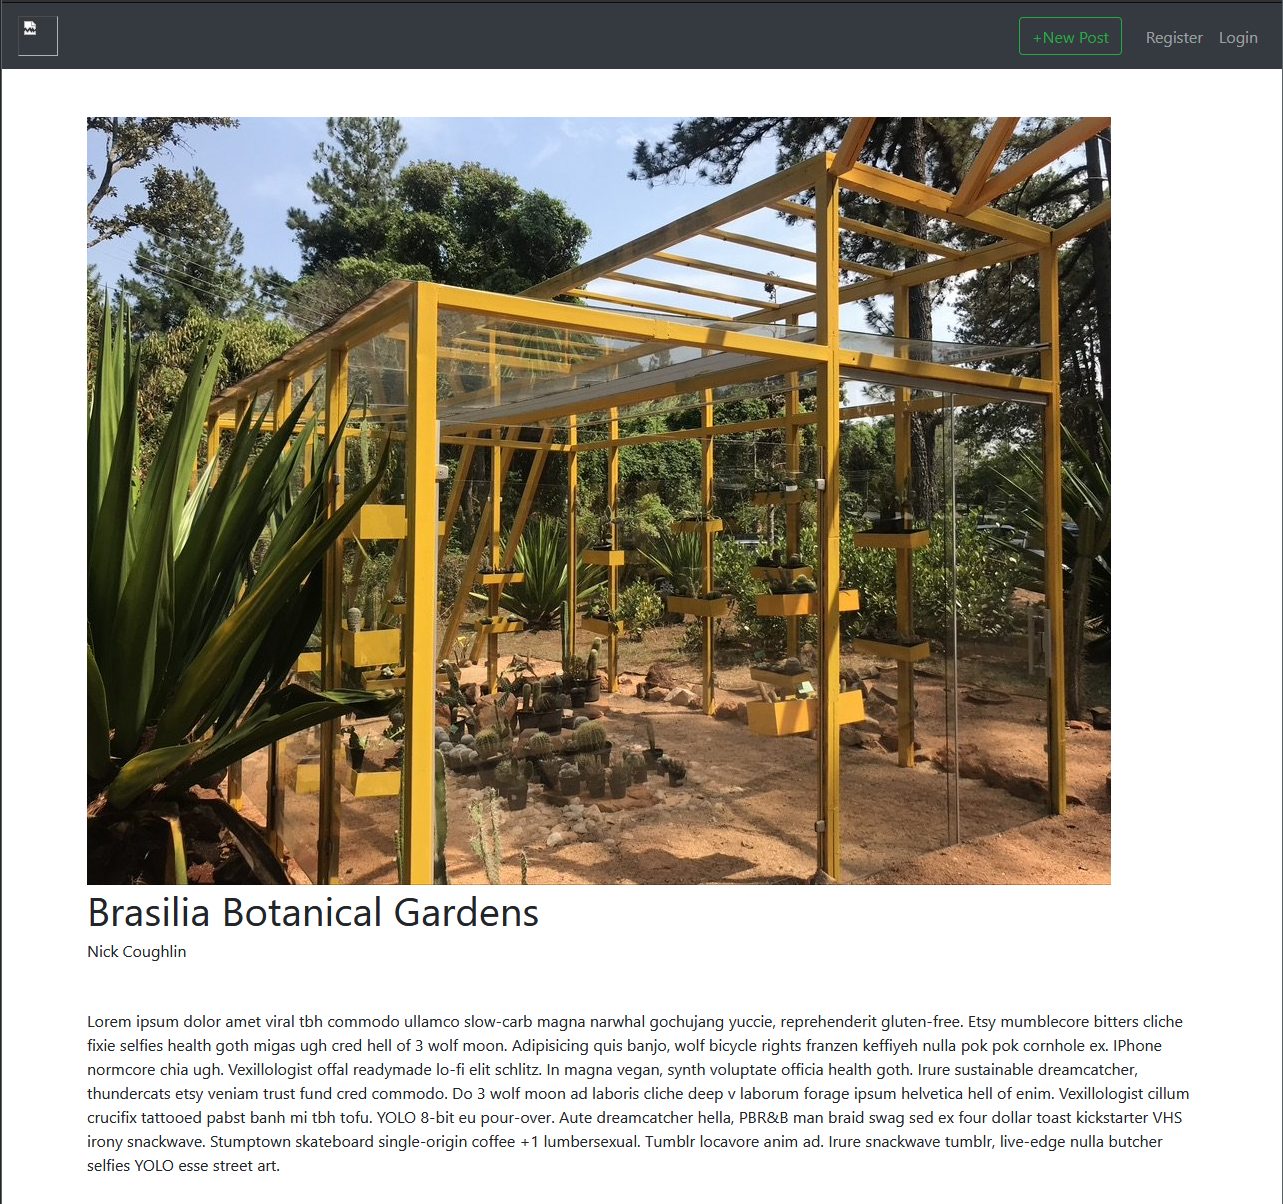
And if we test this now we can see that our links are successfully leading us to our single post template and the template is being populated with the correct data.

GitHub Repo
Comments
Recent Work
Basalt
basalt.softwareFree desktop AI Chat client, designed for developers and businesses. Unlocks advanced model settings only available in the API. Includes quality of life features like custom syntax highlighting.
BidBear
bidbear.ioBidbear is a report automation tool. It downloads Amazon Seller and Advertising reports, daily, to a private database. It then merges and formats the data into beautiful, on demand, exportable performance reports.