Frosty CMS: Adding Content to Layout Dynamically
Intro
We are really going to be bringing it all together now. One of the things that a blog has to be able to do is capture information from a user, store it in a database, and then render that content into a template. The page template needs to loop over all of the content in the database and display it until everything is shown. Therefore, dynamically adding content to the page.
Looping over content array
Let’s start by looping over some static array content and displaying it in the most basic way possible. Then we will add that content to a Bootstrap template. Then we will pull information from a database. We covered the basic concepts of rendering content from an array here: Express.js + EJS: Rendering Templates With Dynamic Content
Static Array Display
If you followed the information in the post above this will look familiar to you. We have put some data and this time images into an array, and then we set that array to a variable that we can call with EJS.
// temporarilly placing blog posts here until database is setup
var posts = [
        {title: "Blog Post 1", author: "Nick Coughlin", image: "https://ncoughlin.com/wp-content/uploads/2020/01/sample-image.jpg"},
        {title: "Blog Post 2", author: "Nick Coughlin", image: "https://ncoughlin.com/wp-content/uploads/2020/01/sample-image.jpg"},
        {title: "Blog Post 3", author: "Nick Coughlin", image: "https://ncoughlin.com/wp-content/uploads/2020/01/sample-image.jpg"}
    ]

// the posts page for the blog, shows all the blog posts
res.render("posts.ejs", {posts:posts});

});
Then to display that data we go to our preview.ejs template and using EJS we insert the array data into our very simple html template.
<% for(var i=0; i<posts.length; i++){ %>
<h1><%= posts[i].title %></h1>
<h3><%= posts[i].author %></h3>
<img src="<%= posts[i].image %>">
<% } %>
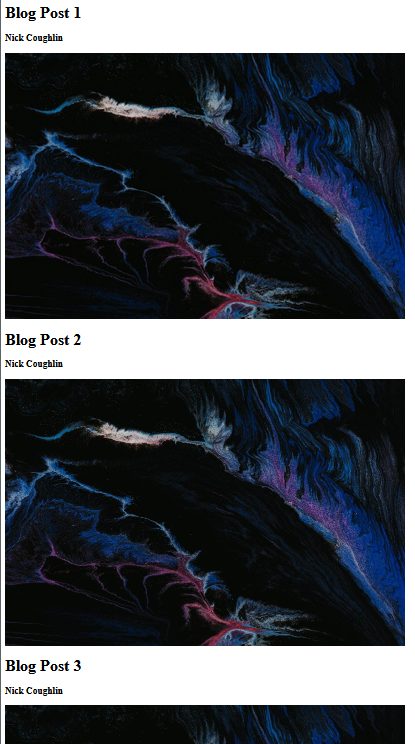
The result:

From here we can see how we could expand on this by replacing the simple html template with a bootstrap template. But we would call the data in the same way.
Inserting The Bootstrap Template
This process would be the same if you were using a CSS Grid or Flexbox template, but in this example we are using Bootstrap.
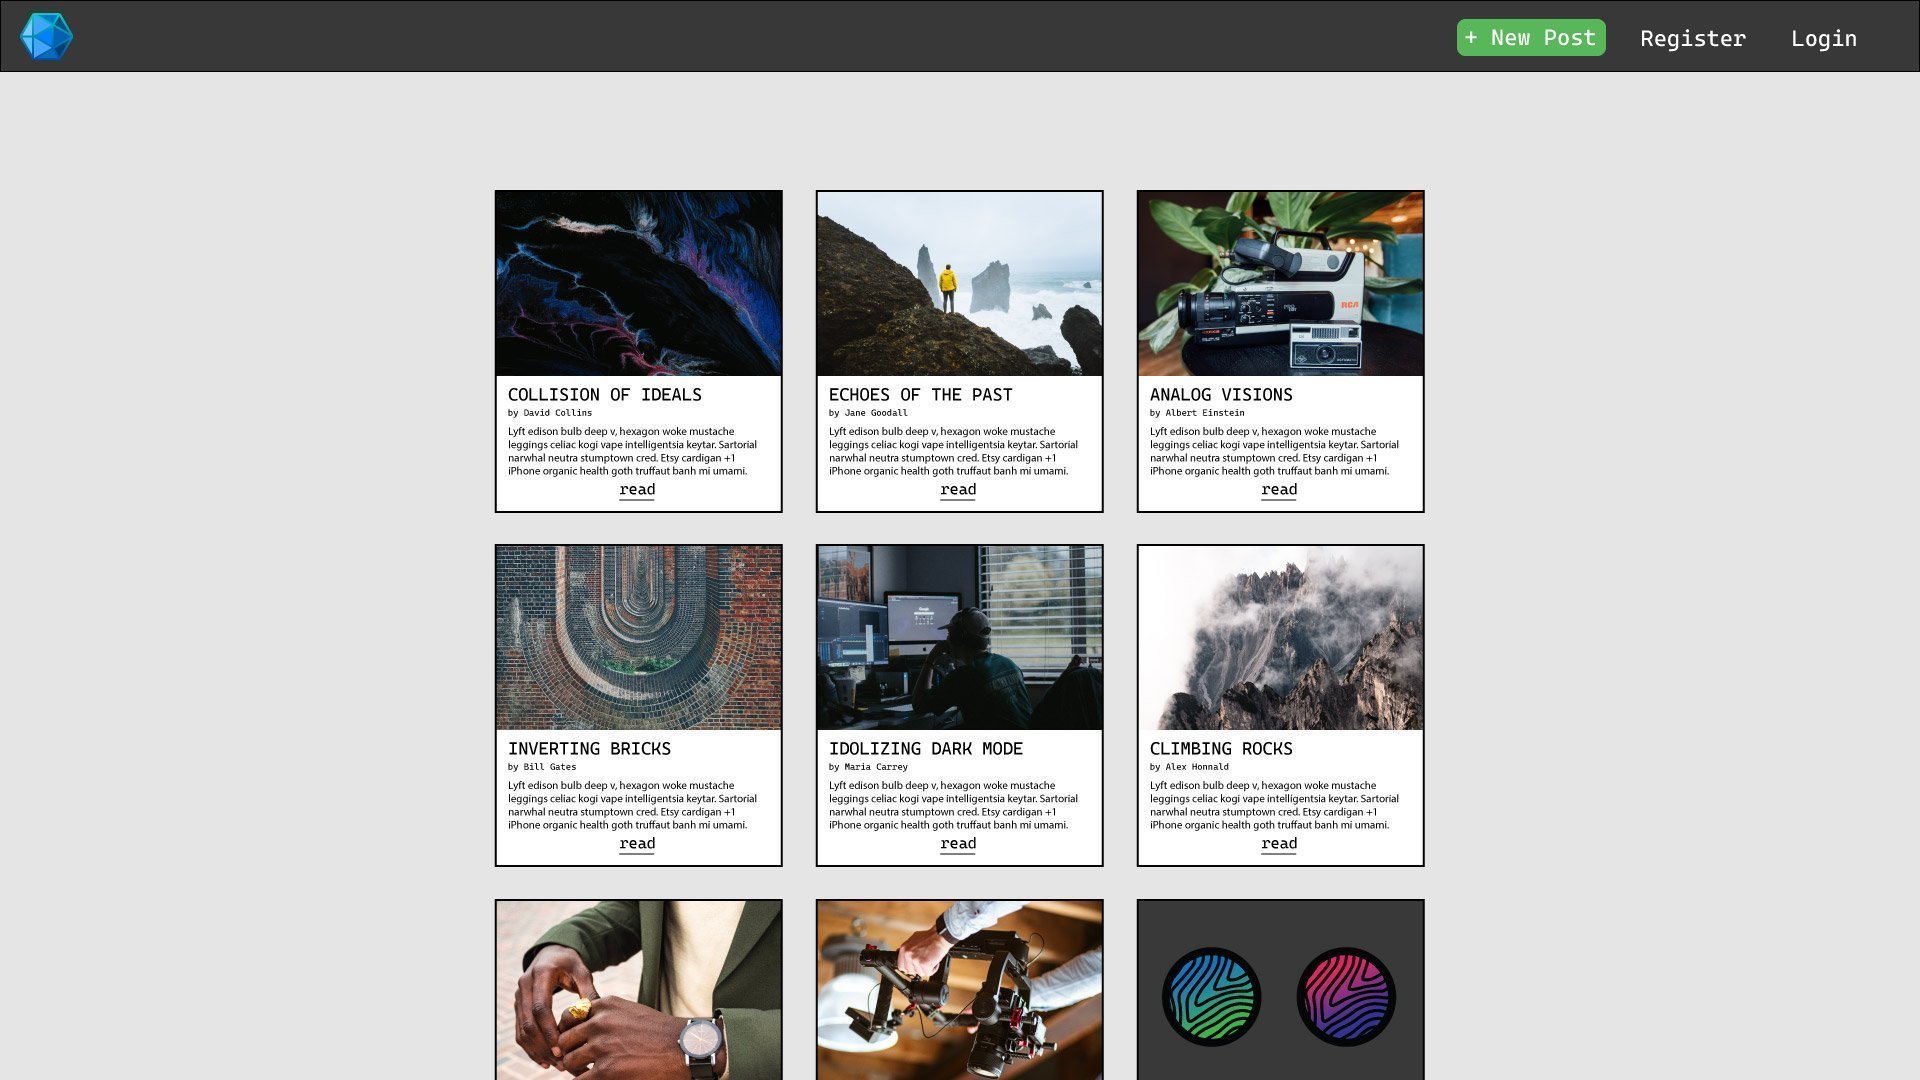
In the Frosty CMS introduction post we made a mockup of what we would like the homepage template to look like in Adobe Illustrator.

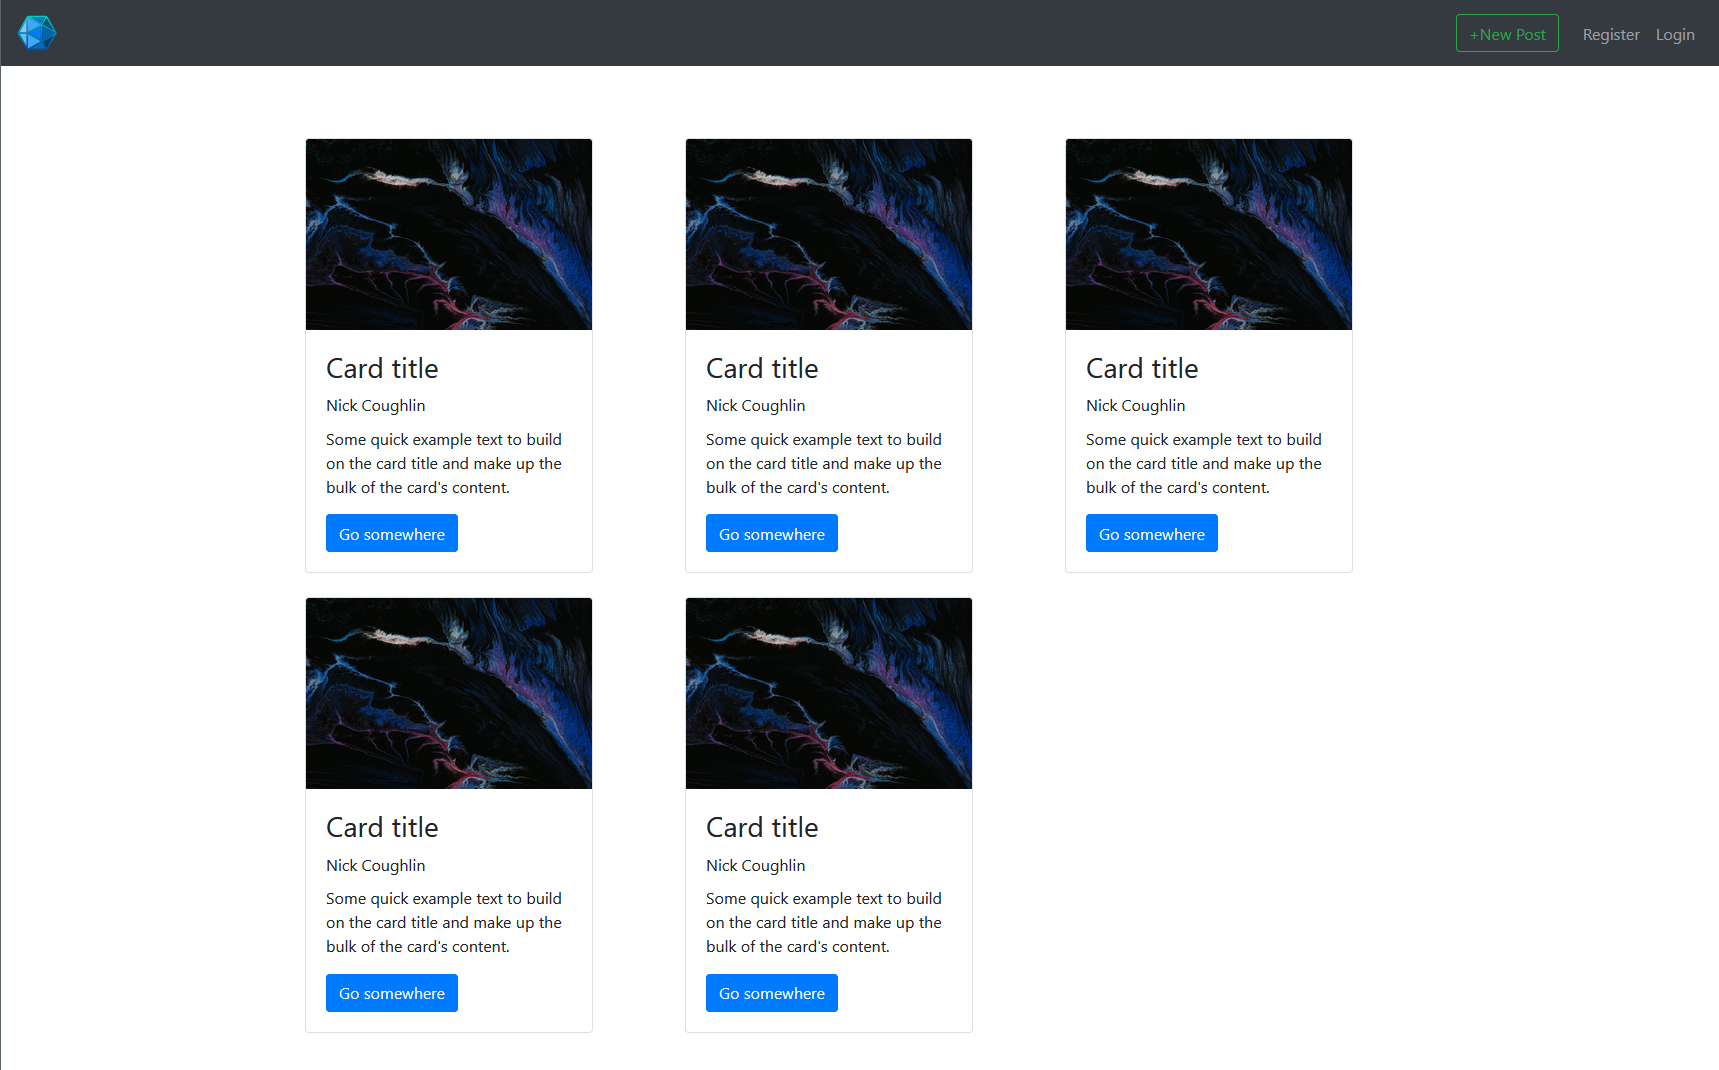
and then I went ahead and spun up a Bootstrap template based on cards that is roughly the same:

It’s pretty simple, here is the code on Github.
Now we want to break up this template into partials in our Express application and make it so that the loop is generating a new card for every article in our static Array.
<!-- The Loop Starts Here -->
<% for(var i=0; i<posts.length; i++){ %>

<div class="col-sm-12 col-md-6 col-lg-4">
    <div class="card mt-4" style="width: 18rem;">
    <img
        src="<%= posts[i].image %>"
        class="card-img-top"
        alt="..."
    />
    <div class="card-body">
        <h3 class="card-title"><%= posts[i].title %></h3>
        <h6 class="card-title"><%= posts[i].author %></h5>
        <p class="card-text">
        Some quick example text to build on the card title and make up
        the bulk of the card's content.
        </p>
        <a href="#" class="btn btn-primary">Go somewhere</a>
    </div>
    </div>
</div>

<% } %>
Note that we are using the exact same loop, we have just inserted the variables for each Array Object into a slightly more complicated template. I added a couple more samples to the array and changed them so they are all unique.
// temporarilly placing blog posts here until database is setup
var posts = [
        {title: "Widgets and You", author: "Davie Crocket", image: "https://ncoughlin.com/wp-content/uploads/2020/01/sample-image.jpg"},
        {title: "How to Train Your Cat", author: "Janet Myrtleton", image: "https://ncoughlin.com/wp-content/uploads/2020/01/sample-image.jpg"},
        {title: "Don't Put That There", author: "Barack Obama", image: "https://ncoughlin.com/wp-content/uploads/2020/01/sample-image.jpg"},
        {title: "Amateur Chainsaw Juggling", author: "Indiana Jones", image: "https://ncoughlin.com/wp-content/uploads/2020/01/sample-image.jpg"},
        {title: "The Legend of the BeeGees", author: "Miles Davis", image: "https://ncoughlin.com/wp-content/uploads/2020/01/sample-image.jpg"}
    ]
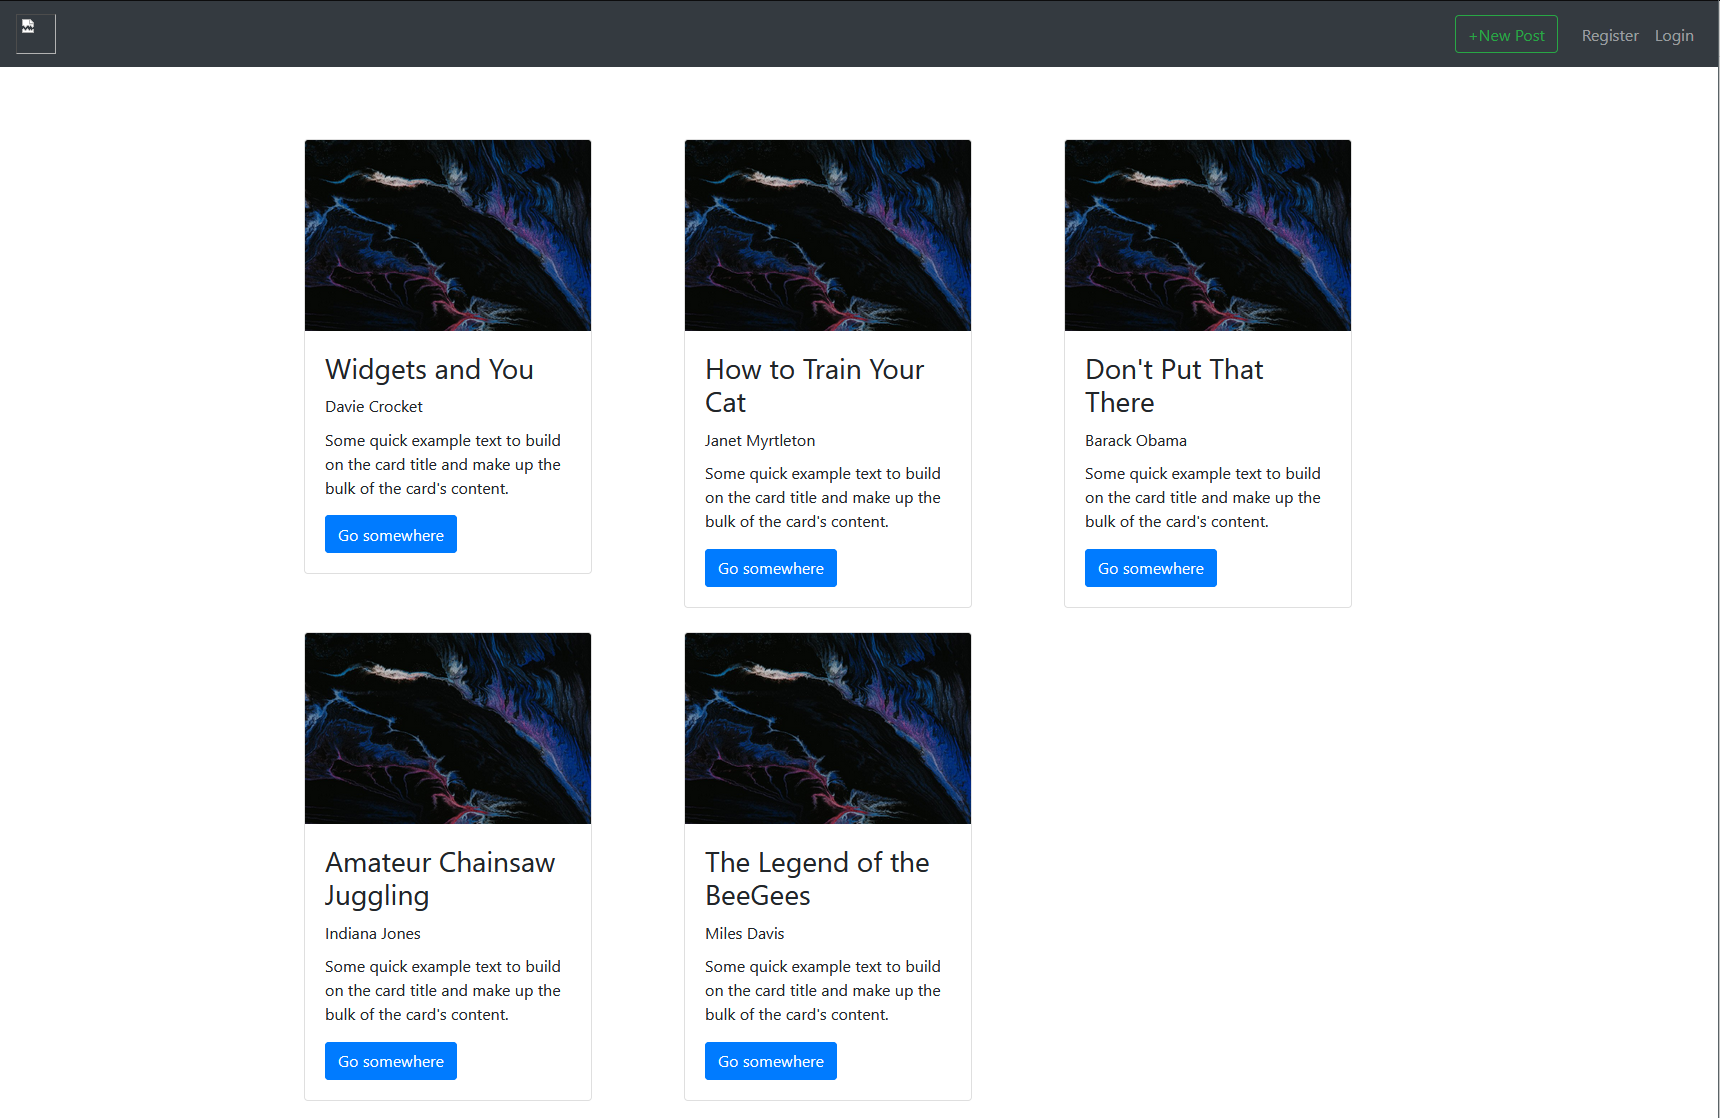
and when we run the app we get the following:

Which is exactly what we want! The next step is to be able to add data to our array (and therefore our posts page) by putting the data into a form. However that exceeds the scope of this article as we have successfully created a template that will generate and display a new card for each object in our posts array.
Join me next time for: Frosty CMS: Capturing new Post Data In A Form
GitHub Repo
Comments
Recent Work
Basalt
basalt.softwareFree desktop AI Chat client, designed for developers and businesses. Unlocks advanced model settings only available in the API. Includes quality of life features like custom syntax highlighting.
BidBear
bidbear.ioBidbear is a report automation tool. It downloads Amazon Seller and Advertising reports, daily, to a private database. It then merges and formats the data into beautiful, on demand, exportable performance reports.