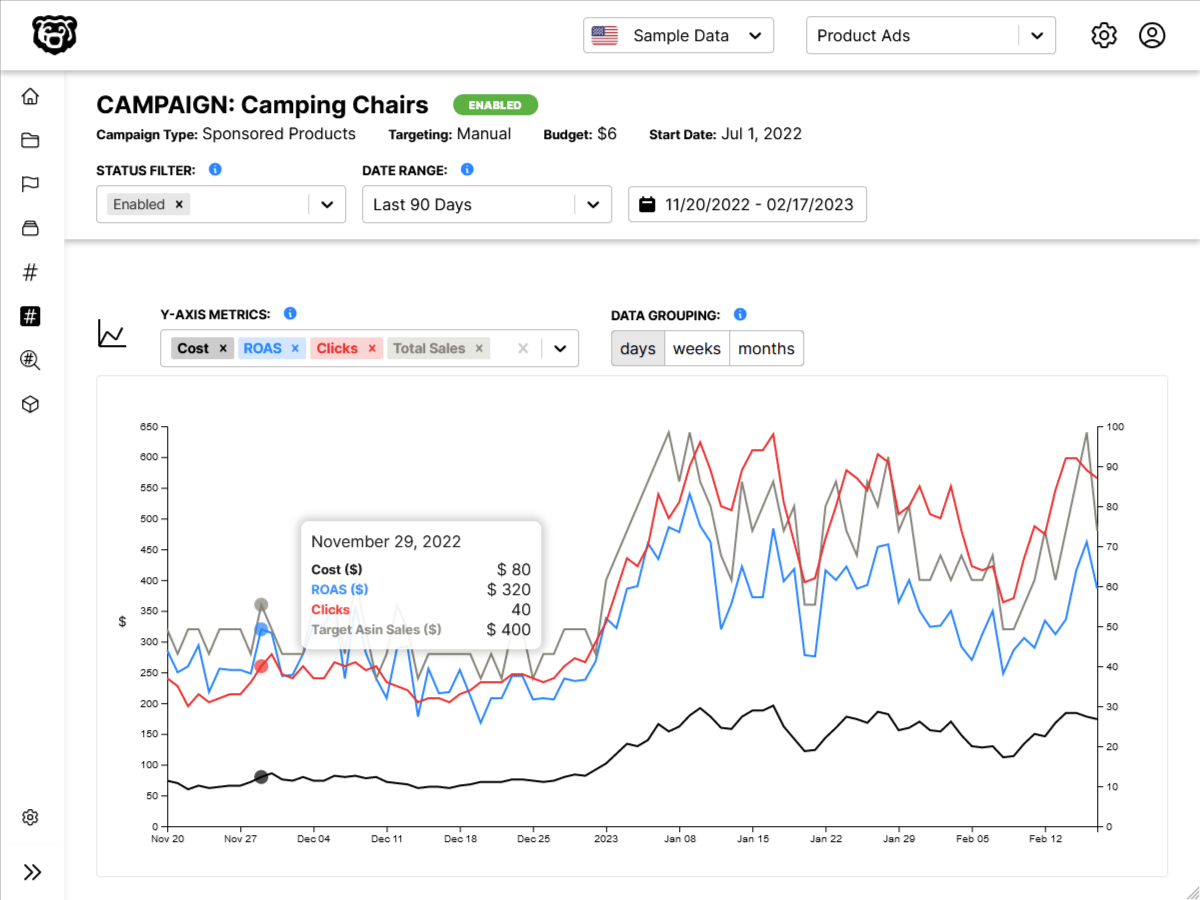
Settings Dashboard
Continuing our series on Frosty CMS, where we are building a blog CMS from scratch. So far we have the ability to create posts and display them on the homepage. However a blog needs full CRUD capability. So now let’s work on the Update portion of that.
To start we need to take a moment and workout what we want the UI to be like for this. I would like to have a back-end dashboard where we can pick a settings category and then have different options displayed in that area, including editing our blog posts.
The purpose of this post is not to cover front-end stuff, so I will skip over the process I went through of making this. But I can tell you that I have added a settings button to the navbar which navigates to a settings page, the settings page has a secondary vertical navbar (which is inside of a partials file). Then I have created templates for two different settings pages to start; Blogs and General. I set up these pages so that they are laid out with CSS Grid with a vertical Bootstrap Nav.
Then I created a table template to display a list of all the blog posts currently in the database and the data is populating the template, which was the exact same process that we covered to generate the index page.
Here is the express route that handles the GET request for the settings>blogs page:
// render the settings>blogs page
app.get("/settings/blogs", function (req, res) {
  // get blogs from database
  Blog.find({}, function (err, blogs) {
    if (err) {
      console.log("Error: Unable to retreive blog data.")
    } else {
      res.render("settings-blogs.ejs", { blogs: blogs })
    }
  })
})
And here is the loop in the settings-blogs.ejs template where the data is being sent:
<!-- The Loop Starts Here -->
    <% for(var i=0; i<blogs.length; i++){ %>
    <tr>
    <td><img
        src="<%= blogs[i].image %>"
        alt="..."
        class="settings-table-image">
    </th>
    <td><%= blogs[i].title %></td>
    <td><span class="settings-table-id"><%=blogs[i]._id%></span></td>
    <td><button type="button" class="btn btn-outline-primary">Edit</button></td>
    </tr>
    <% } %>
<!-- The Loop Ends Here -->
All of that results in the following:

Now we need that edit button to actually do something. We need to have an edit post form that will pre-populate with the data from the post, and we need to link to that form from this settings>blogs page. For this we can just recycle and modify our “new post” form and insert it into a settings page template. It looks like this.
Edit Post Form

We needed to make some key changes though. First of all to prepulate the fields we needed to replace the placeholder values with value:
<input type="text" class="form-control" id="featuredImageURL" name="blog[image]" value="<%= blog.image %>">Except for the text area inputs where we put the EJS variables where the actual text would be:
<textarea class="form-control" id="shortDescriptionInput" rows="3" name="blog[short]"><%= blog.short %></textarea>We still need to update the forms action, but we will get back to that. We have a form that is populating data from the object blog, but we don’t have a route to get us here and send that data so lets do that next.
The Route
We want to stick with our RESTful routing scheme
| Name | Path | HTTP Verb | Purpose | Mongoose Method |
|---|---|---|---|---|
| Index | /dogs | GET | List all dogs | Dog.find() |
| New | /dogs/new | GET | Show new dog form | n/a |
| Create | /dogs | POST | Create a new dog, then redirect somewhere | Dog.create() |
| Show | /dogs/:id | GET | Show info about one specific dog | Dog.findById() |
| Edit | /dogs/:id/edit | GET | Show edit form for one dog | Dog.findById() |
| Update | /dogs/:id | PUT | Update particular dog, then redirect somewhere | Dog.findByIdAndUpdate() |
| Destroy | /dogs/:id | DELETE | Delete a particular dog, then redirect somewhere | Dog.findByIdAndRemove() |
Which is going to give us this route:
settings/blogs/:id/edit
and we need to write an Express route that will take the id variable and then send the database data to our edit post form:
// settings>blogs>:id>edit
app.get("/settings/blogs/:id/edit", function (req, res) {
  // find post with provided ID
  Blog.findById(req.params.id, function (err, dbData) {
    if (err) {
      console.log("error finding blog data by ID")
    } else {
      // render single post template with that post data
      res.render("editBlog.ejs", { blog: dbData })
    }
  })
})
Edit Post Link
Now that we have a route, we can actually put that wildcard url into the edit button and it will link us to the pre-populated edit post form.

Remember that these buttons are inside of our loop that is populating this settings page with data, so have access to that data already, we just have to dynamically insert the id into the url.
<td><a href="/settings/blogs/<%=blogs[i]._id%>/edit" class="btn btn-outline-primary">Edit</a></td>HTML Forms Don’t Support PUT Requests
Going back to our edit post form, we are now ready to set up our PUT request to send the new data to the database. However HTML form still do not support PUT requests. So if tried to use the following for our form action:
<form action="/settings/blogs/<%= blog._id %>" method="PUT">Along with this PUT route:
// edit post
app.put("/settings/blogs/:id", function (req, res) {
  res.send("PUT REQUEST RECEIVED")
})
We will get an error.

What is happening is that a PUT request defaults to a GET request. So we need a work-around.
Method-Override
To get around this we will be using a package called method-override, which will let us use HTTP verbs PUT and DELETE.
We install that package, import it into our application and use it.
// import method-override
var methodOverride = require("method-override")
// use method-override
app.use(methodOverride("_method"))
Then we update our form action to the following:
<form action="/settings/blogs/<%= blog._id %>?_method=PUT" method="POST">Where we have changed the method to POST and we have added the method override ?_method=PUT to our URL.
And if we try to submit our form now we get:

Which is the RESponse that we specified in our route. Perfect. Now we just need to update that route to send the data to the database and overwrite the previous data.
.findByIdAndUpdate
We can send this data to the database and overwrite the previous post data with a single Mongoose method called .findByIdAndUpdate. This method takes three arguments (id, new content, callback).
The id is a parameter of the request we are receiving: req.params.id
The new content is the object title blog (thus named in the form itself) that we are sending in the body of the request: req.body.blog
The callback is the function to execute, which is our request and response.
So we put all that together and we write the following route:
// edit post
app.put("/settings/blogs/:id", function (req, res) {
  Blog.findByIdAndUpdate(req.params.id, req.body.blog, function (
    err,
    newDatabaseRecord
  ) {
    if (err) {
      console.log("Failed to update database")
    } else {
      res.redirect("/posts/" + req.params.id)
    }
  })
})
and note that our redirect is taking us to the display page for whichever post we just updated, but we could make that anything.
Another thing that I want to add to this is a console log that shows the updated data like we have for our NEW blog route. So we can use Mongoose to query the data and console.log it for our review.
// edit post
app.put("/blogs/:id", function (req, res) {
  Blog.findByIdAndUpdate(req.params.id, req.body.blog, function (
    err,
    oldDatabaseRecord
  ) {
    if (err) {
      console.log("Failed to update database")
    } else {
      console.log("Blog successfully updated in database.")
      // we want to log the UPDATED data, not the old
      Blog.findById(
        req.params.id,
        "_id image title author date short content",
        { lean: true },
        function (err, newDatabaseRecord) {
          if (err) {
            console.log("Failed To Retreive Updated Record For Display")
          } else {
            console.log(newDatabaseRecord)
          }
        }
      )
      // redirect to updated single post page
      res.redirect("/blogs/" + req.params.id)
    }
  })
})
I also updated the REST route there to make it consistent with the route for NEW.
Deleting Posts
Deleting is easier than updating. We need to make a DELETE route, and trigger that route with a Delete button on the Settings>Blogs page.

Here is our route:
// delete post
app.delete("/blogs/:id", function (req, res) {
  Blog.findByIdAndRemove(req.params.id, function (err) {
    if (err) {
      console.log("failed to delete Mongo document")
    } else {
      console.log("Blog with ID:" + req.params.id + " has been deleted")
      res.redirect("/settings/blogs")
    }
  })
})
And then we add a form with a submit button into our table on the Settings>Blogs page using the DELETE method
<td>
    <form action="/blogs/<%= blogs[i]._id %>?_method=DELETE" method="POST">
        <button type="submit" class="btn btn-outline-danger">Delete</button>
    </form>
</td>